Shrimpl Help Shrimpl Help

  • Home
  • Shrimpl App
Home / 🦐 Farm Management / How to create farm

How to create farm

Less than a minute 0

Adding a New Farm

Get started by adding a new farm to the platform. Follow each step as shown in the video to ensure your farm is set up correctly.

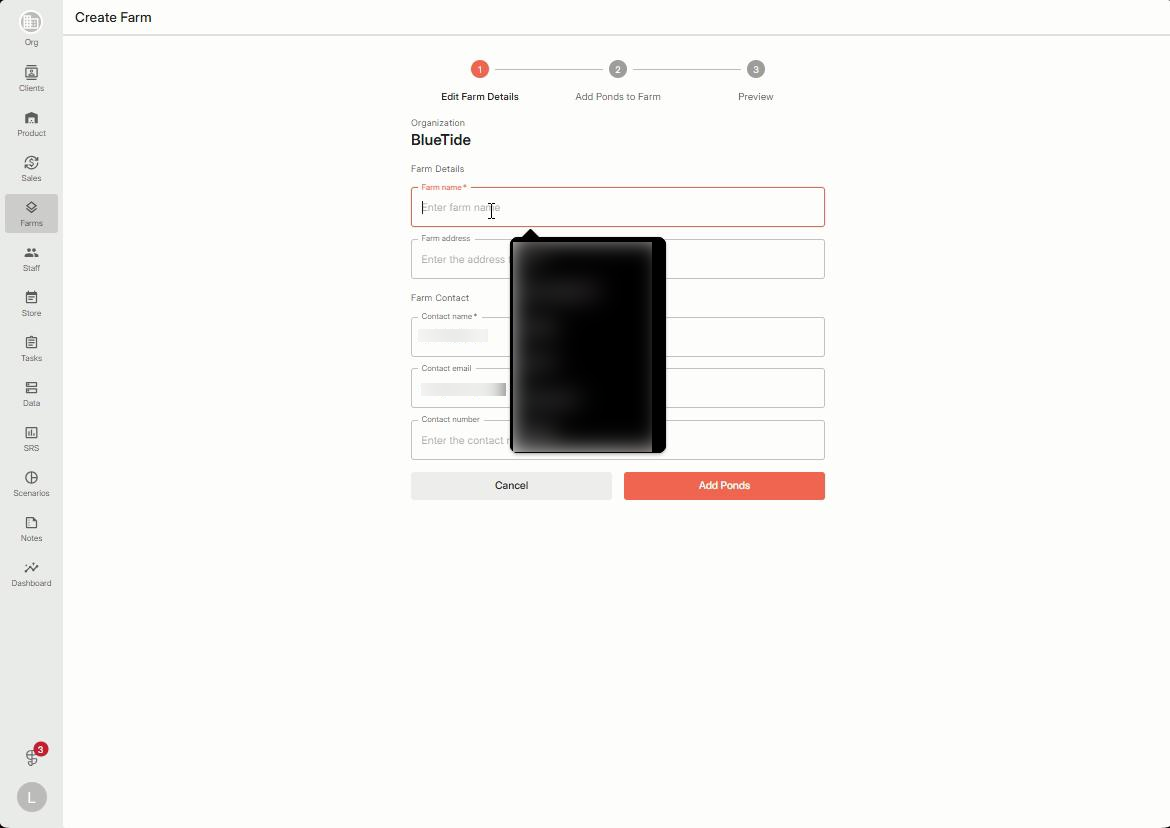
Step 1: Enter the farm name and required details. Fill in all necessary fields to identify your farm.


Step 2: Open the map to select your farm’s exact location. Click on the map interface to begin navigating.


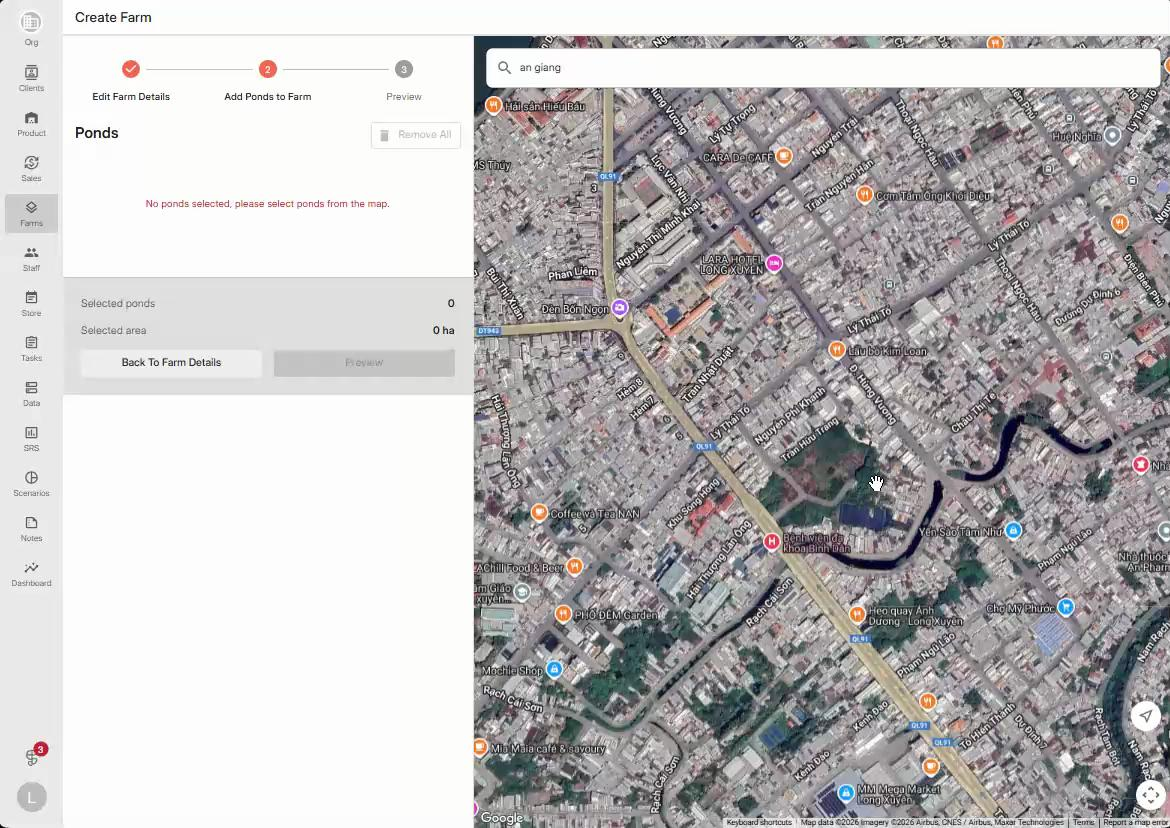
Step 3: Zoom in and pan around the map to find the correct spot for your farm. Adjust the view until you pinpoint your farm’s location.


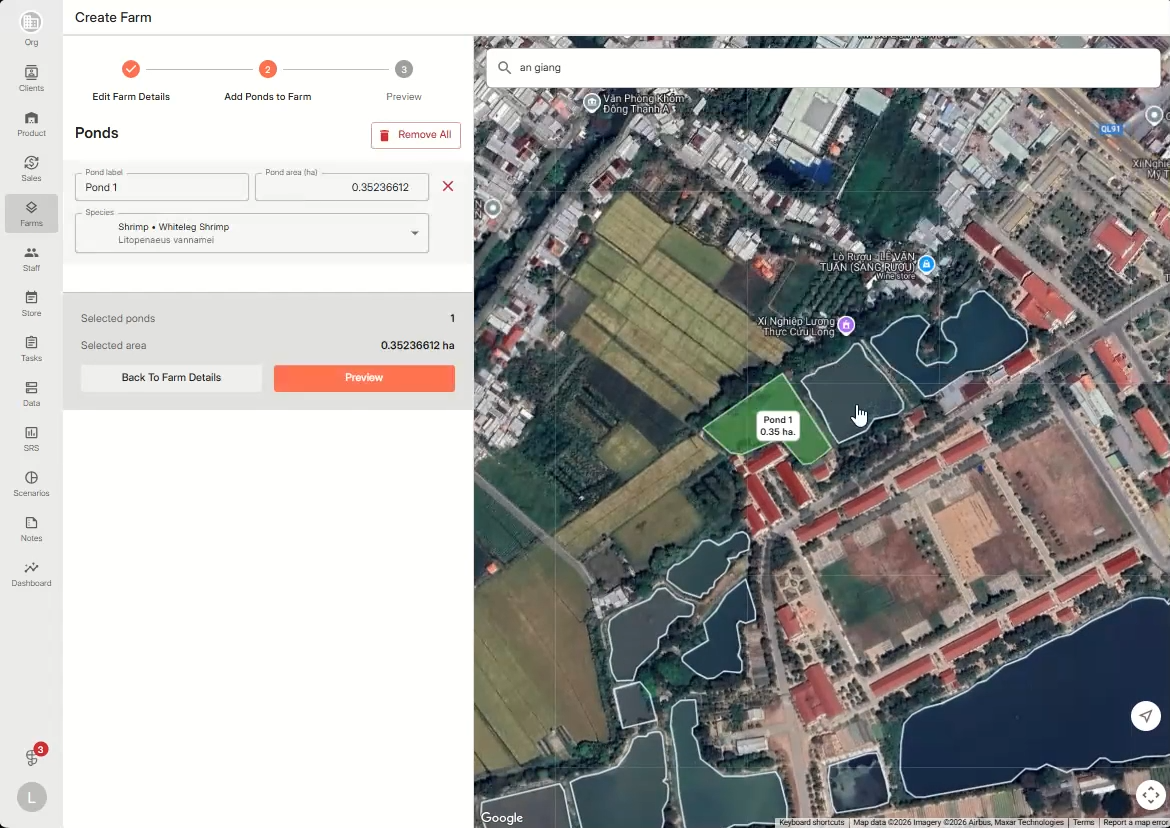
Step 4: Review the farm overview. Check that all details look correct—the farm’s ponds should display on the map, and farm information will appear on the left panel for confirmation.


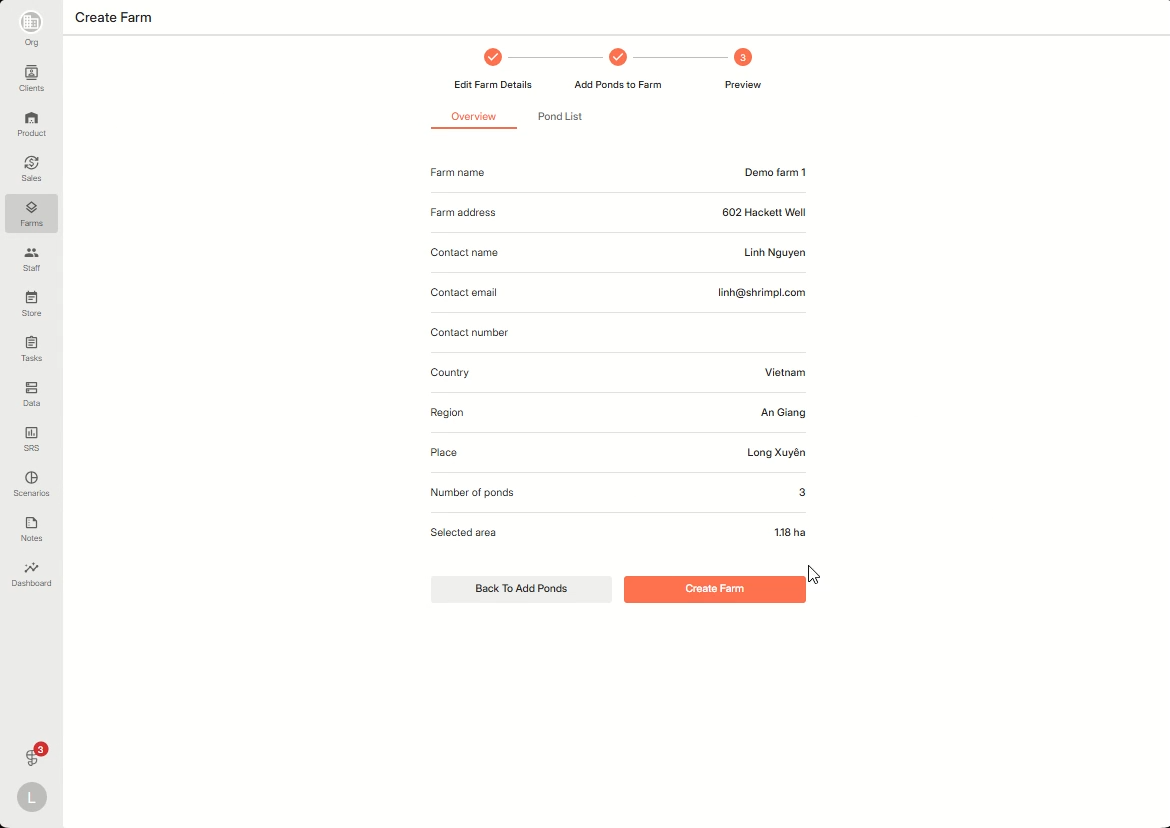
That’s it! Your farm is now added and ready to use. Review the overview whenever you need to make sure everything stays accurate.

🦐 Farm Management

Related Articles

  • How to deactivate a farm
  • How to Manage the Access to your Farm
  • How to edit ponds within a farm
  • How to create a farming plan

Categories

  • 11✍️ Account Settings
  • 1✨ Getting Started
  • 2💼 Client Management
  • 2📁 Farm Data
  • 2📝 Task Management
  • 2🛡️Shrimpl Resiliency Score (SRS)
  • 6🦐 Farm Management

Most Viewed

  • Use this website 110
  • How to Sign up with Phone number 37
  • How to Log in with Email account 37
  • What should I do when I forgot my password? 28
  • How do I change my password? 28

Most Liked

  • Use this website 3
  • How to Log in with Phone Number 1
  • How to Discover & Join an Organization 1

Social

Article Categories

✍️ Account Settings ✨ Getting Started 💼 Client Management 📁 Farm Data 📝 Task Management 🛡️Shrimpl Resiliency Score (SRS) 🦐 Farm Management
Shrimpl Pte Ltd, All rights reserved