How to Add a New Product in the Product Management Module
Adding a new product to your catalog is simple when you follow these steps. Doing this ensures your inventory stays organized and up to date for accurate reporting and smooth navigation.
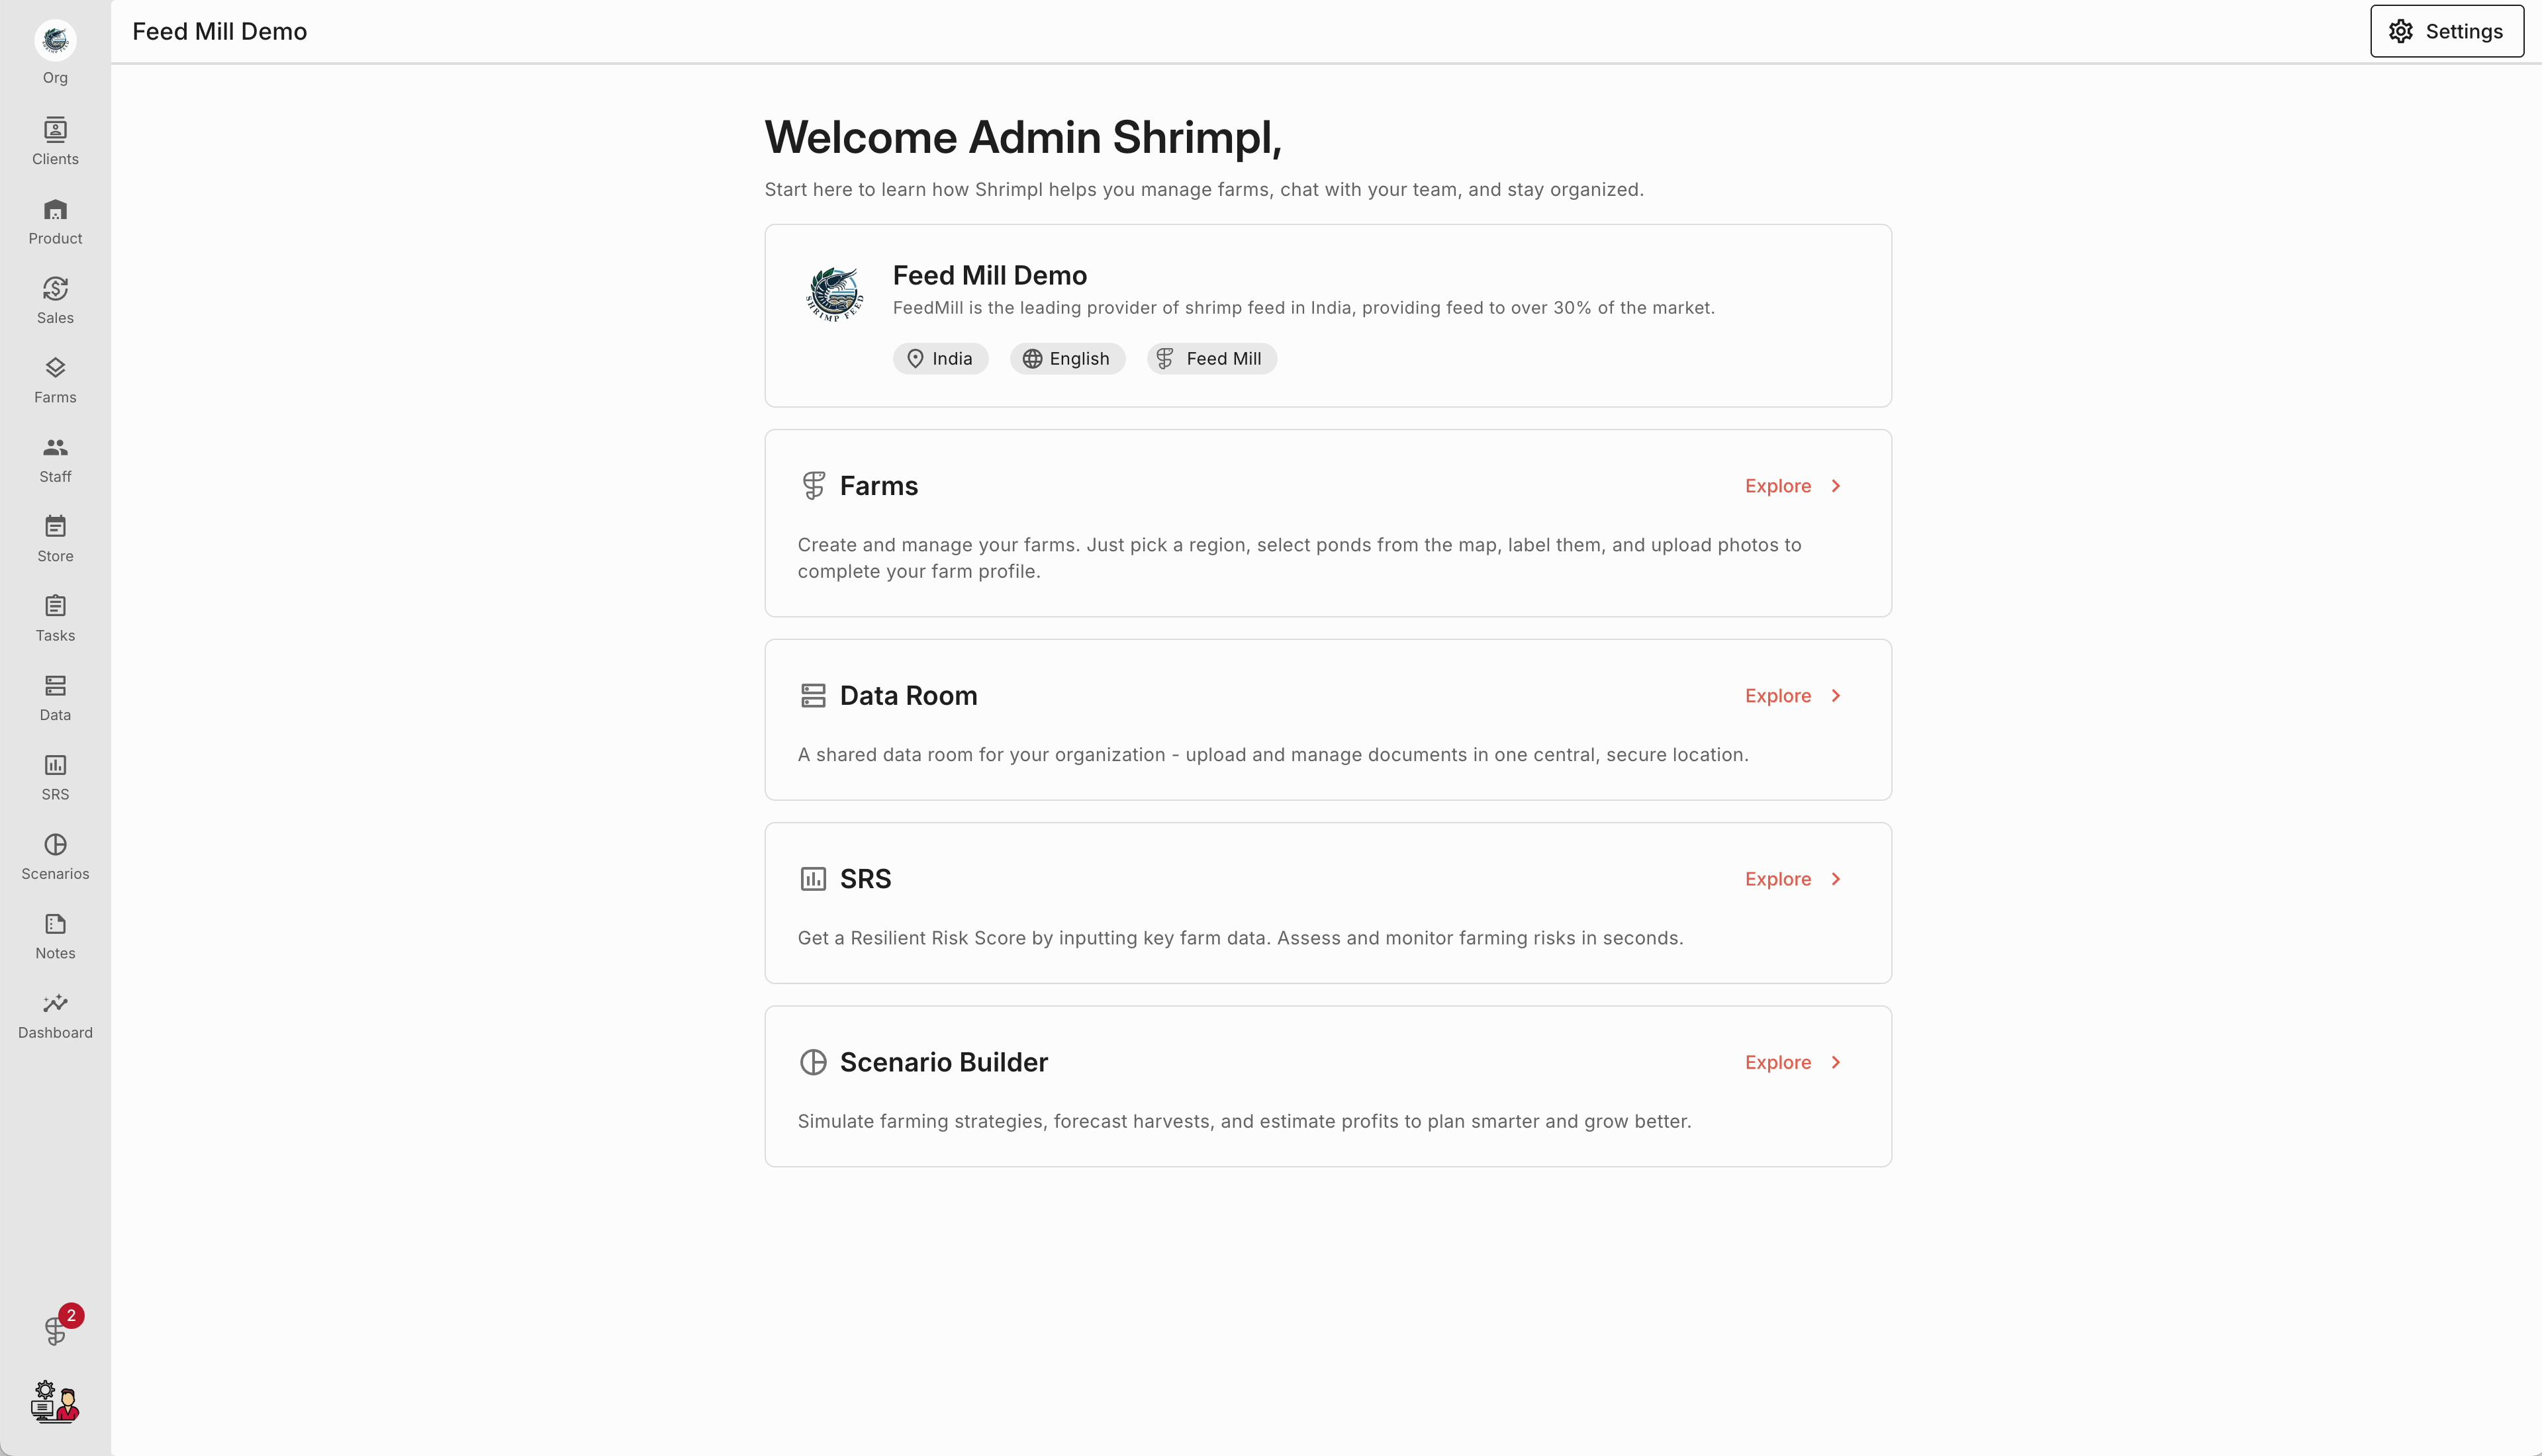
Step 1: Open the Product Management module from the main dashboard.
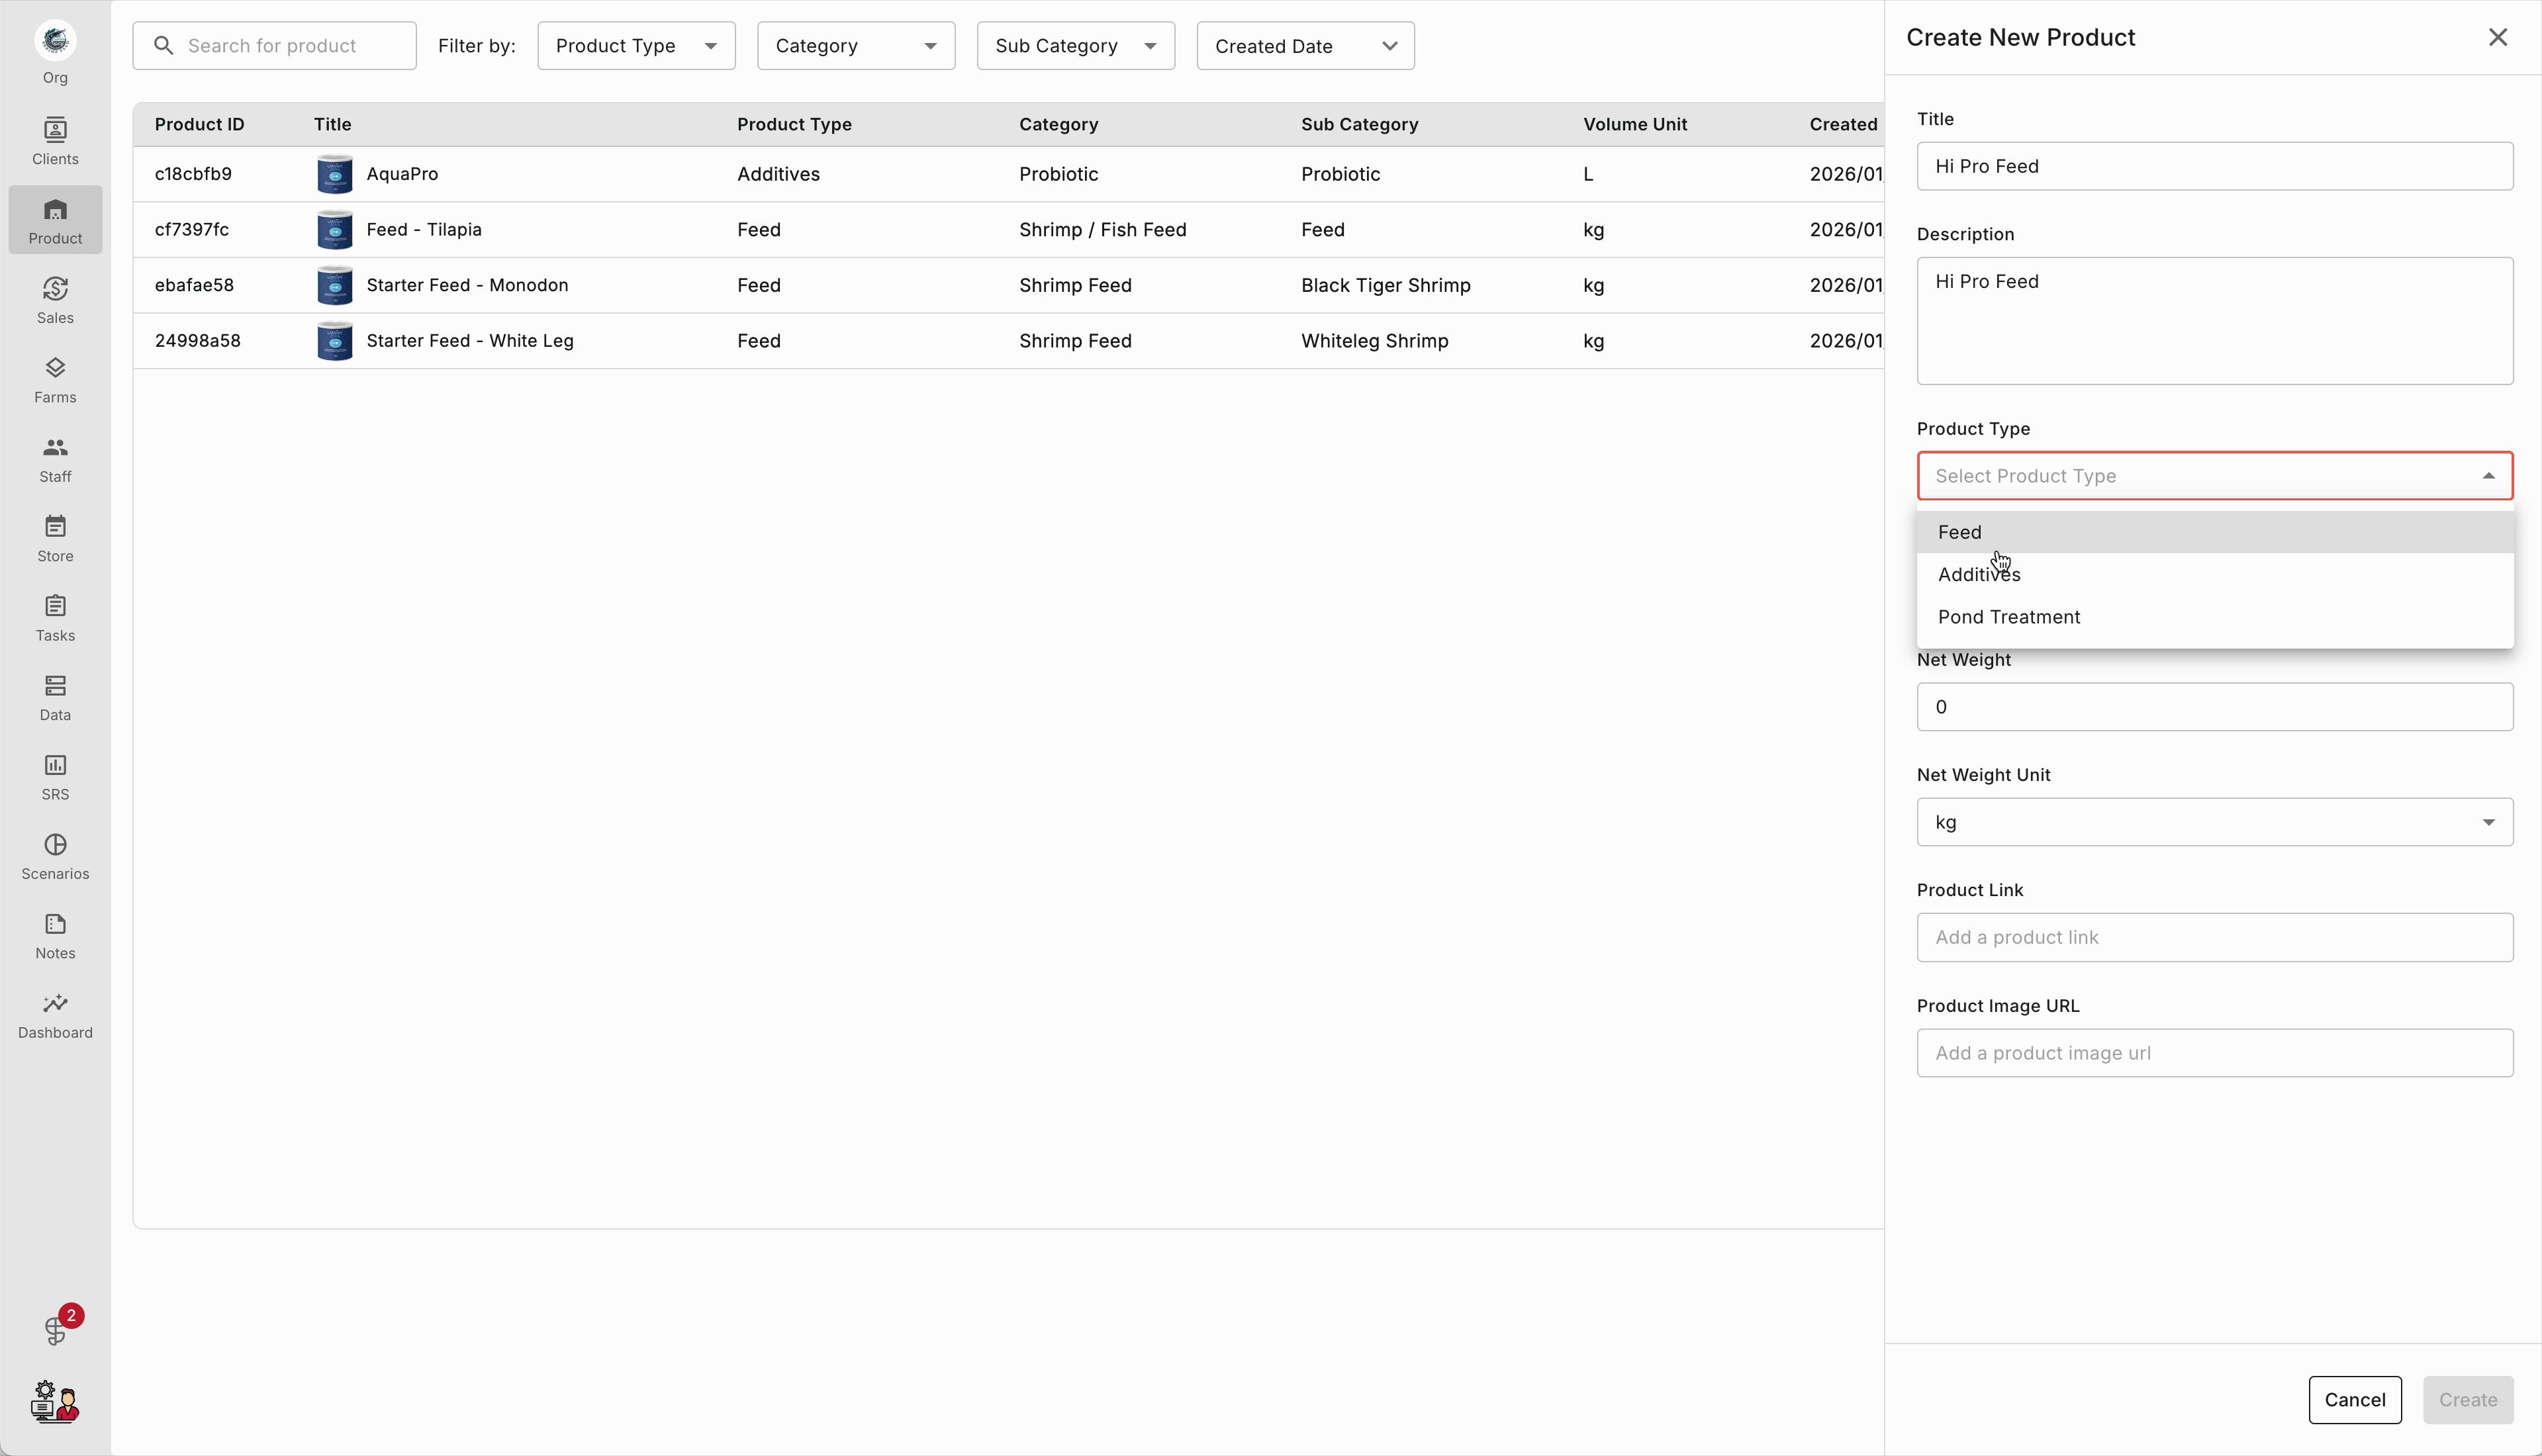
Step 2: On the product screen, select the product type from the dropdown on the right. Pick the option that matches the item you’re adding.
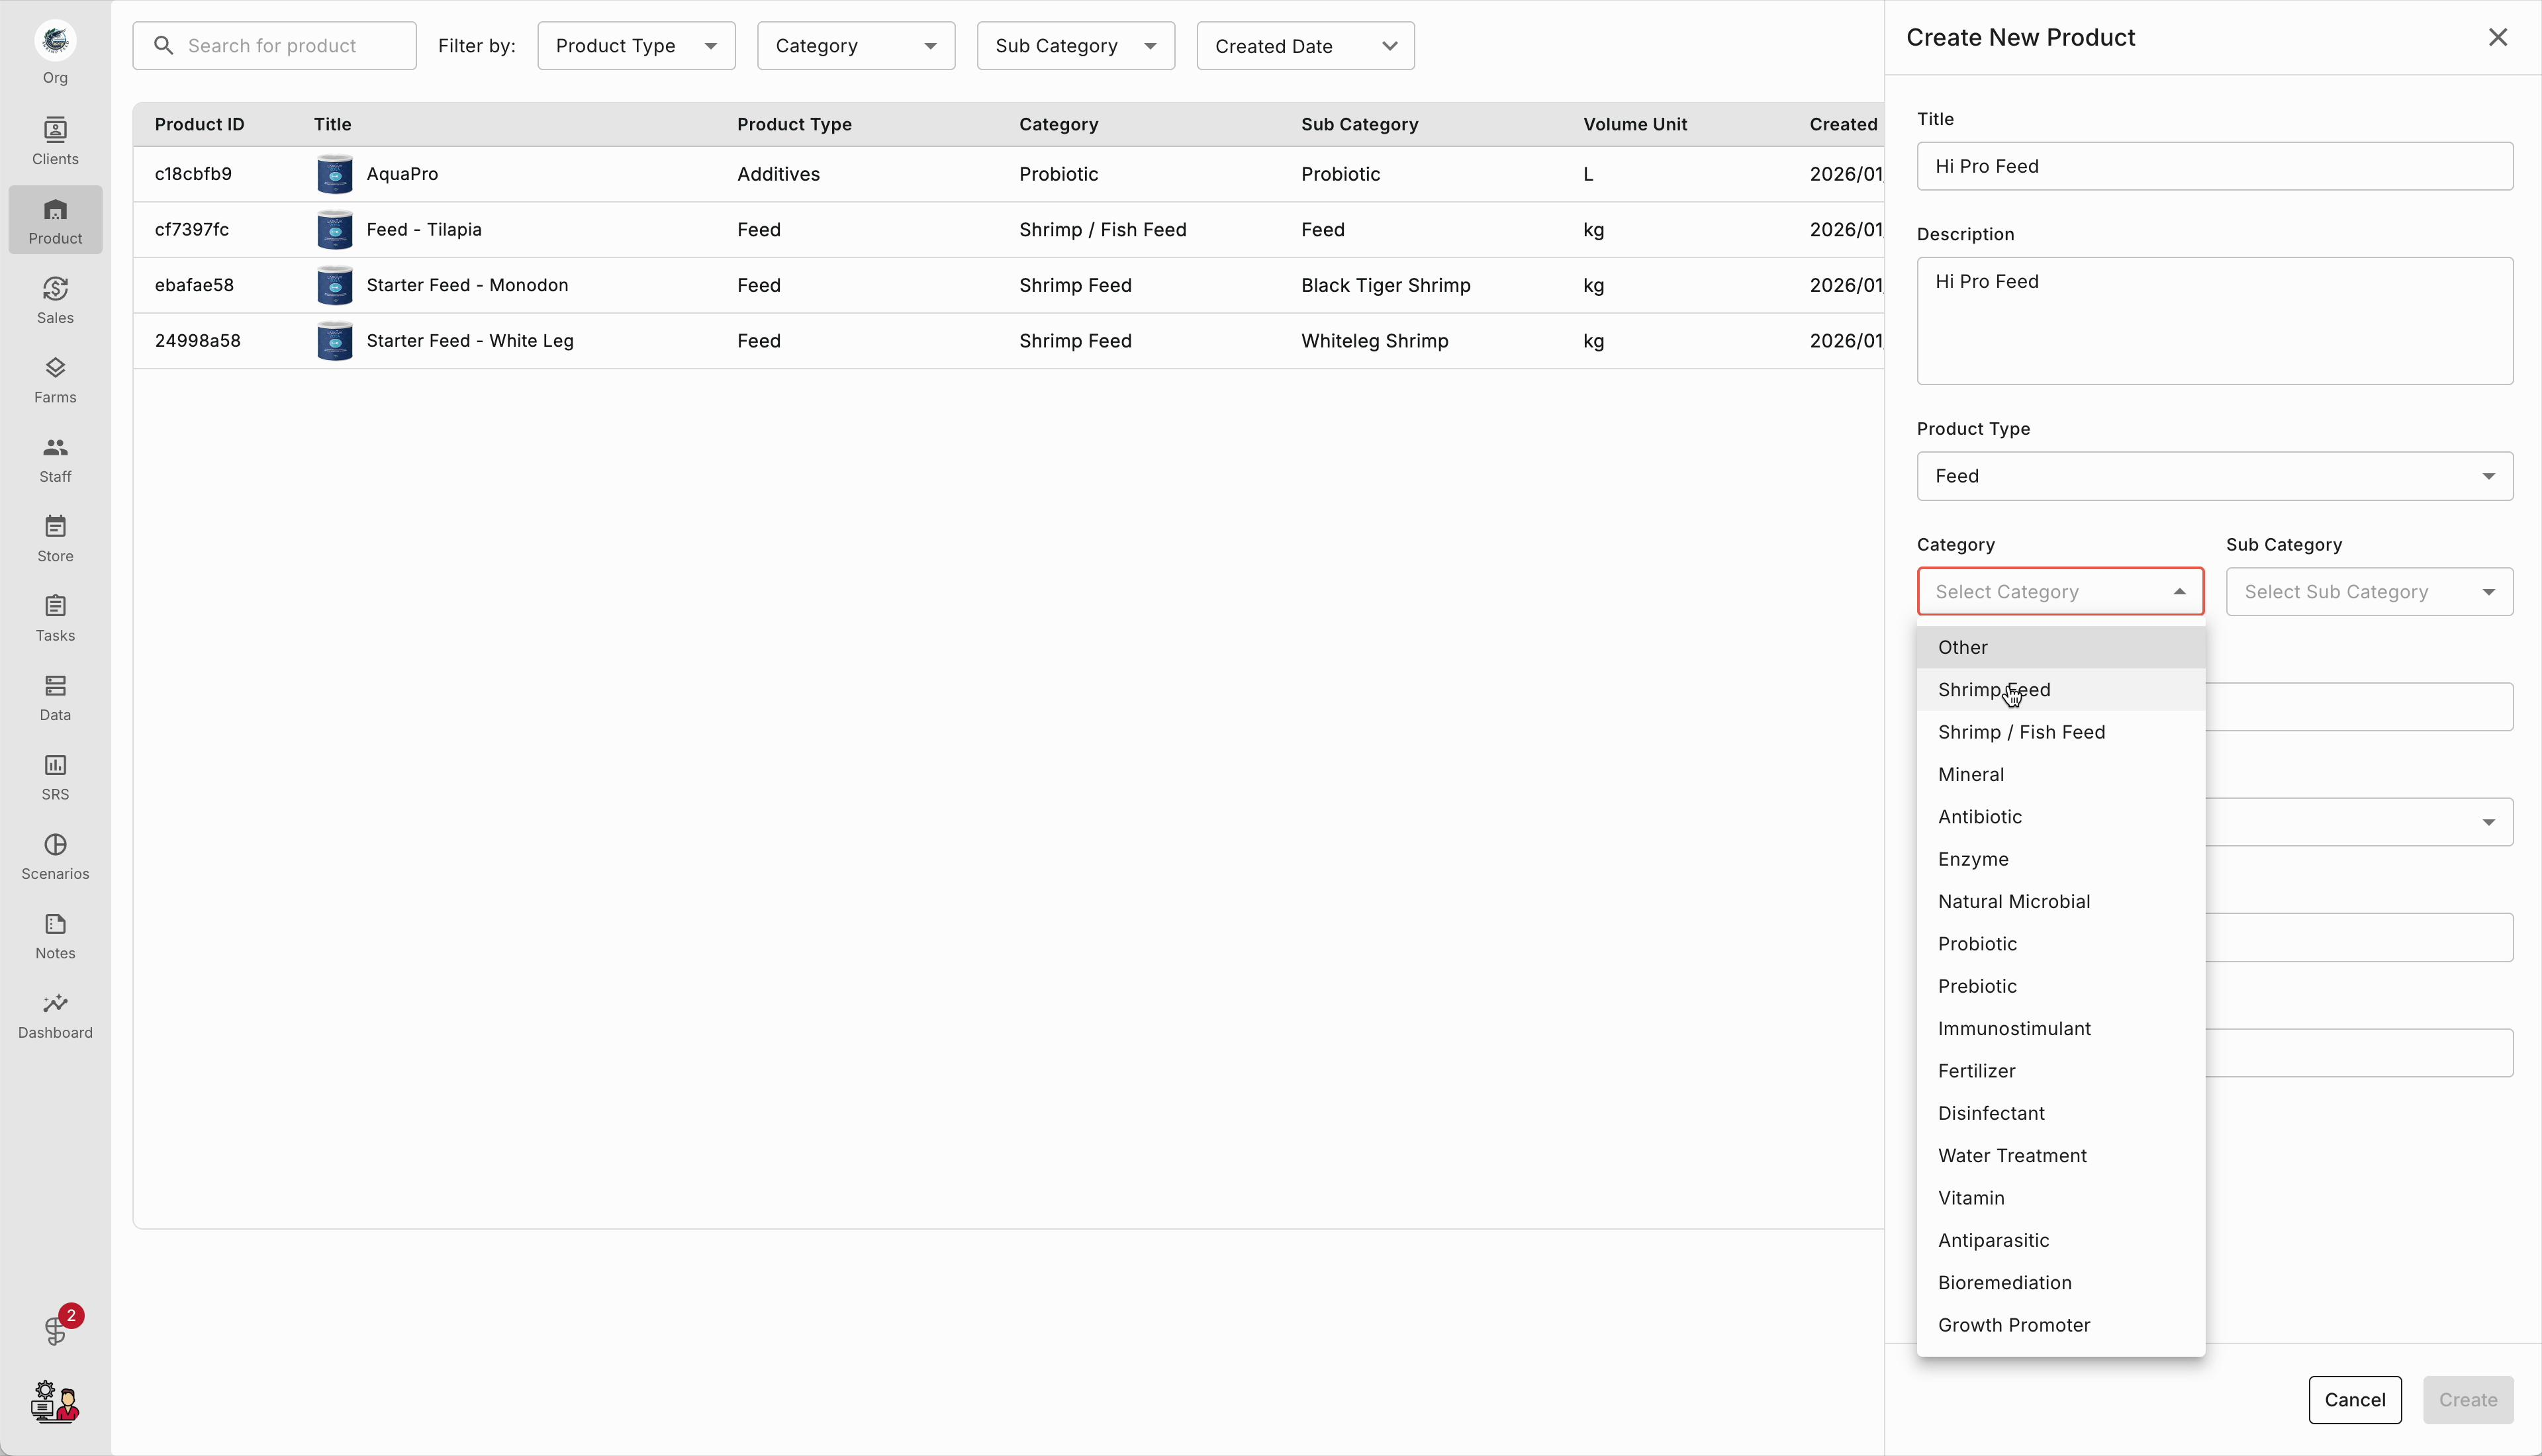
Step 3: Choose a category from the list to make sure the product is grouped correctly in reporting and search.
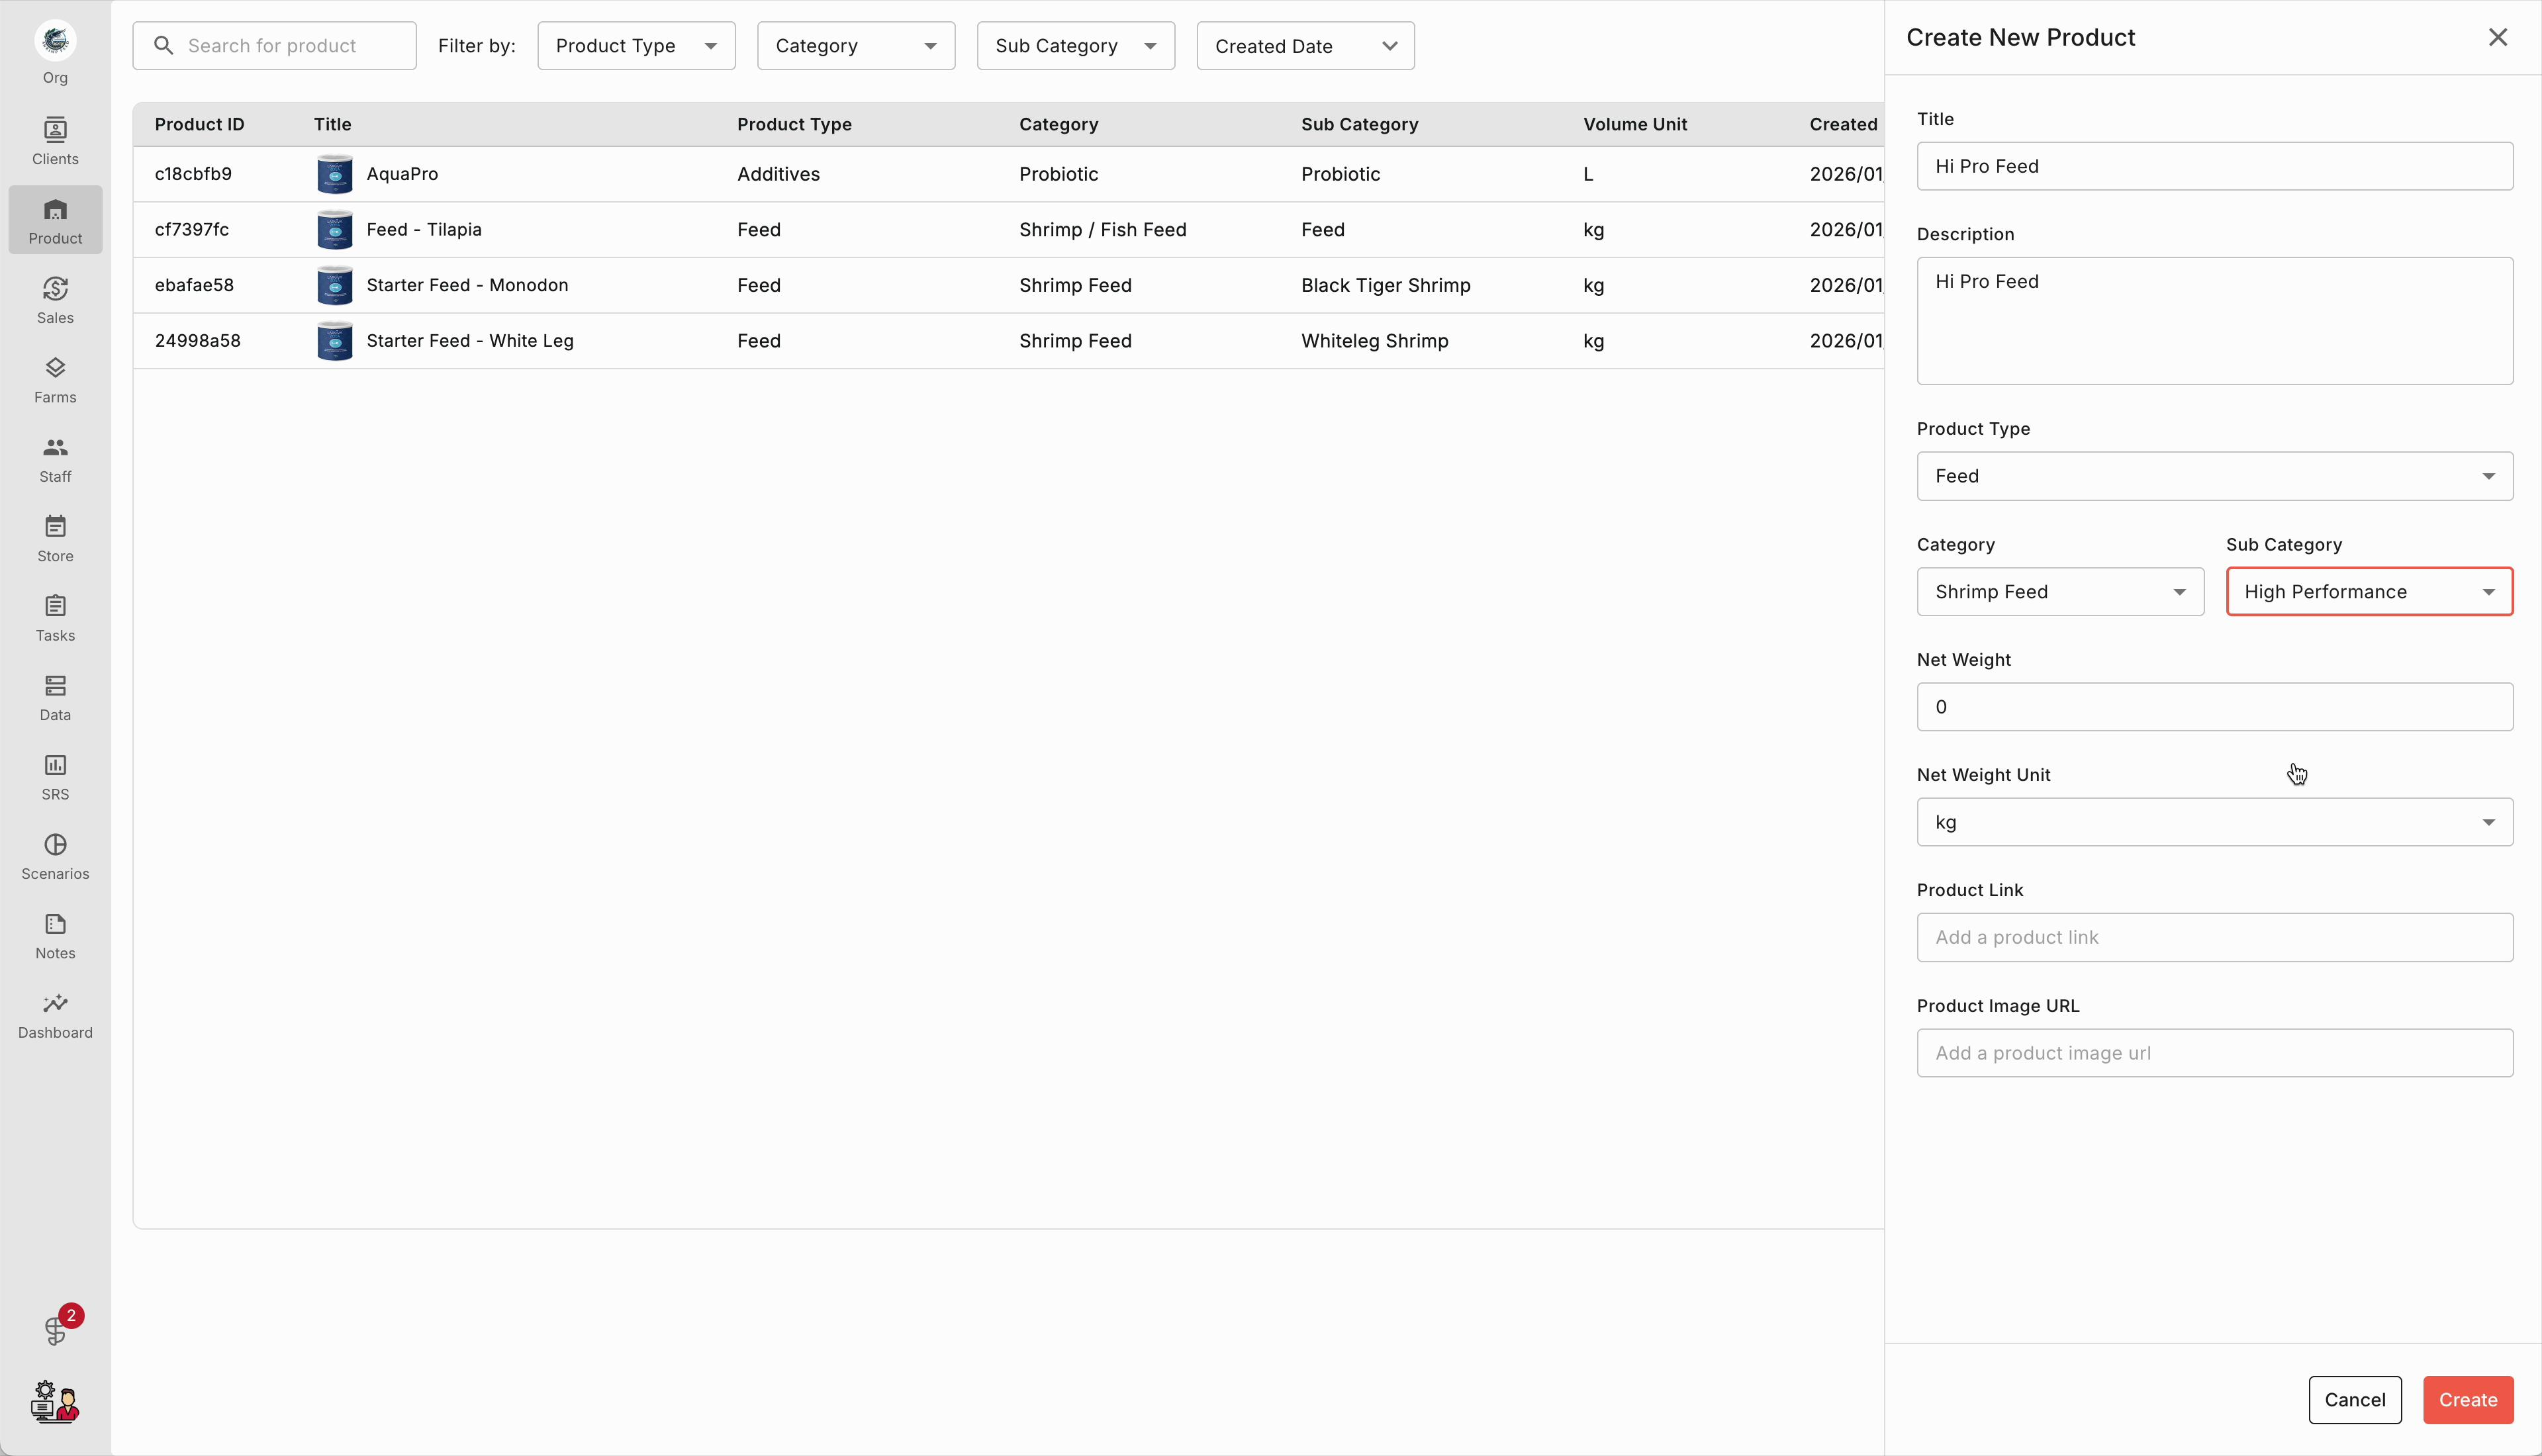
Step 4: Select a sub-category, like “High Performance,” to narrow it down further and keep your catalog consistent.
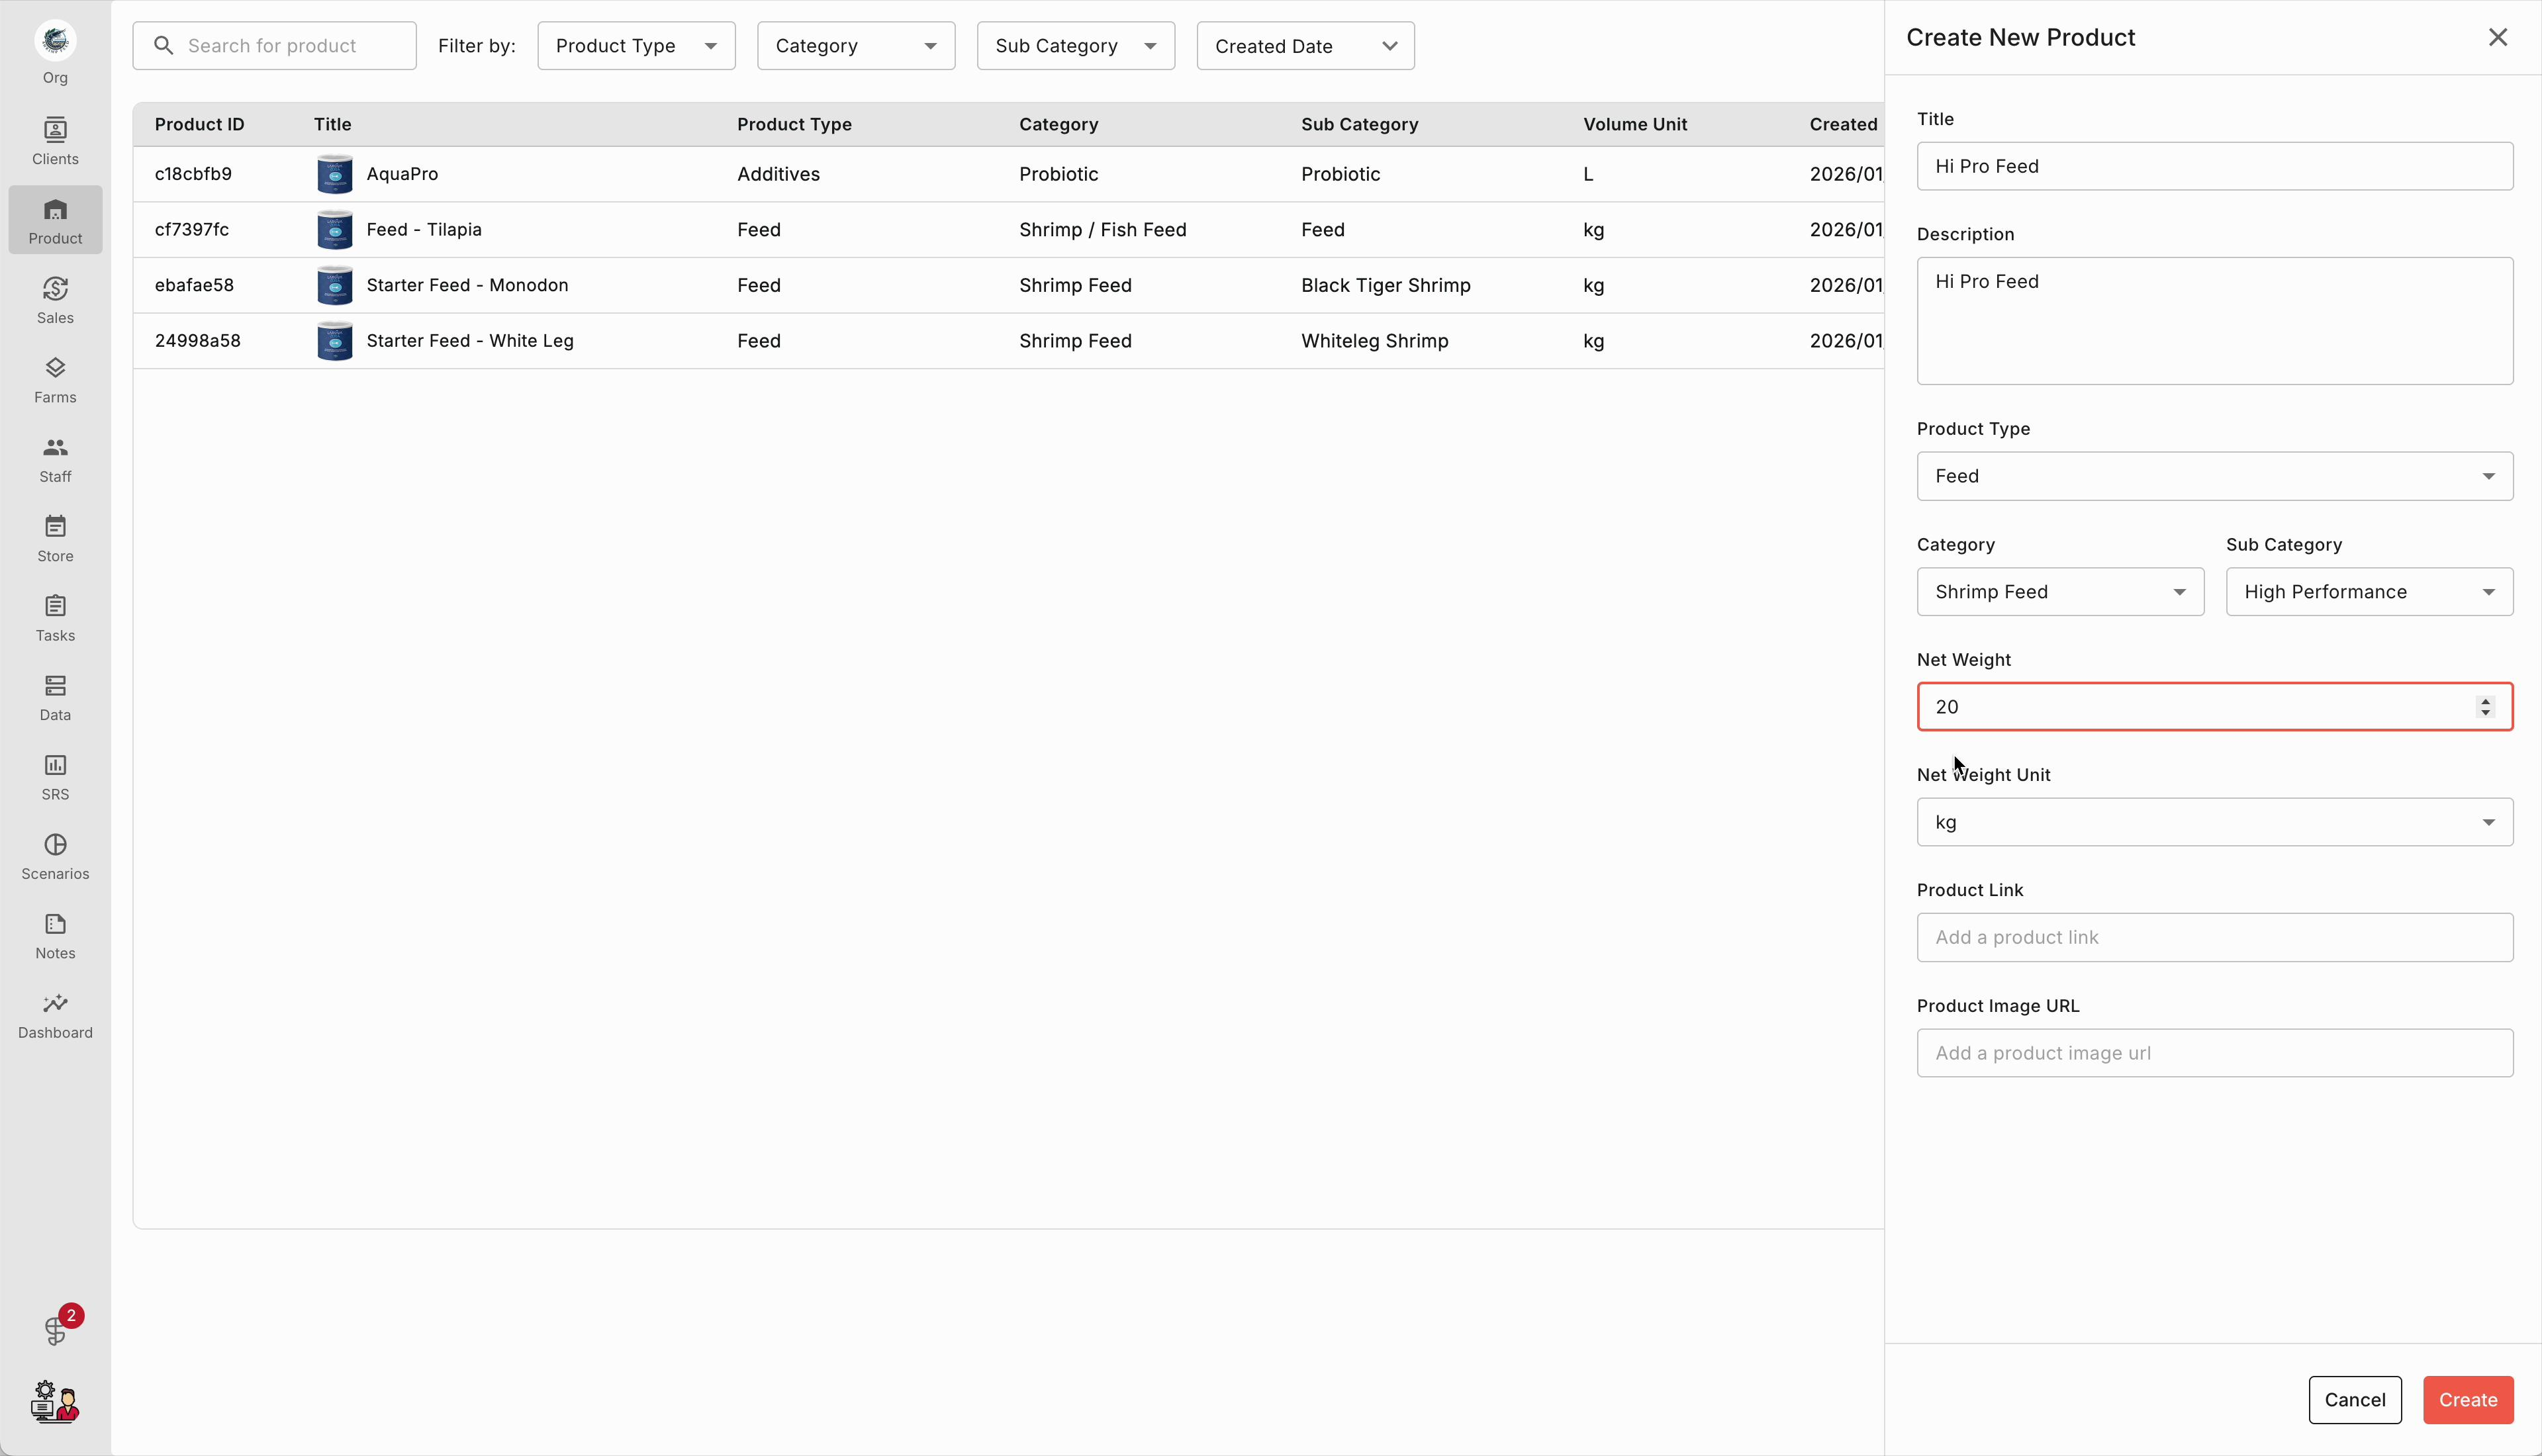
Step 5: Review the product creation form and fill in all required fields, such as product name, SKU, pricing, and description details.

Step 6: Confirm everything is accurate to avoid duplicates or misclassification.
Step 7: Scroll to the Product Image URL field and paste in a direct link to the product image so it displays correctly in listings.
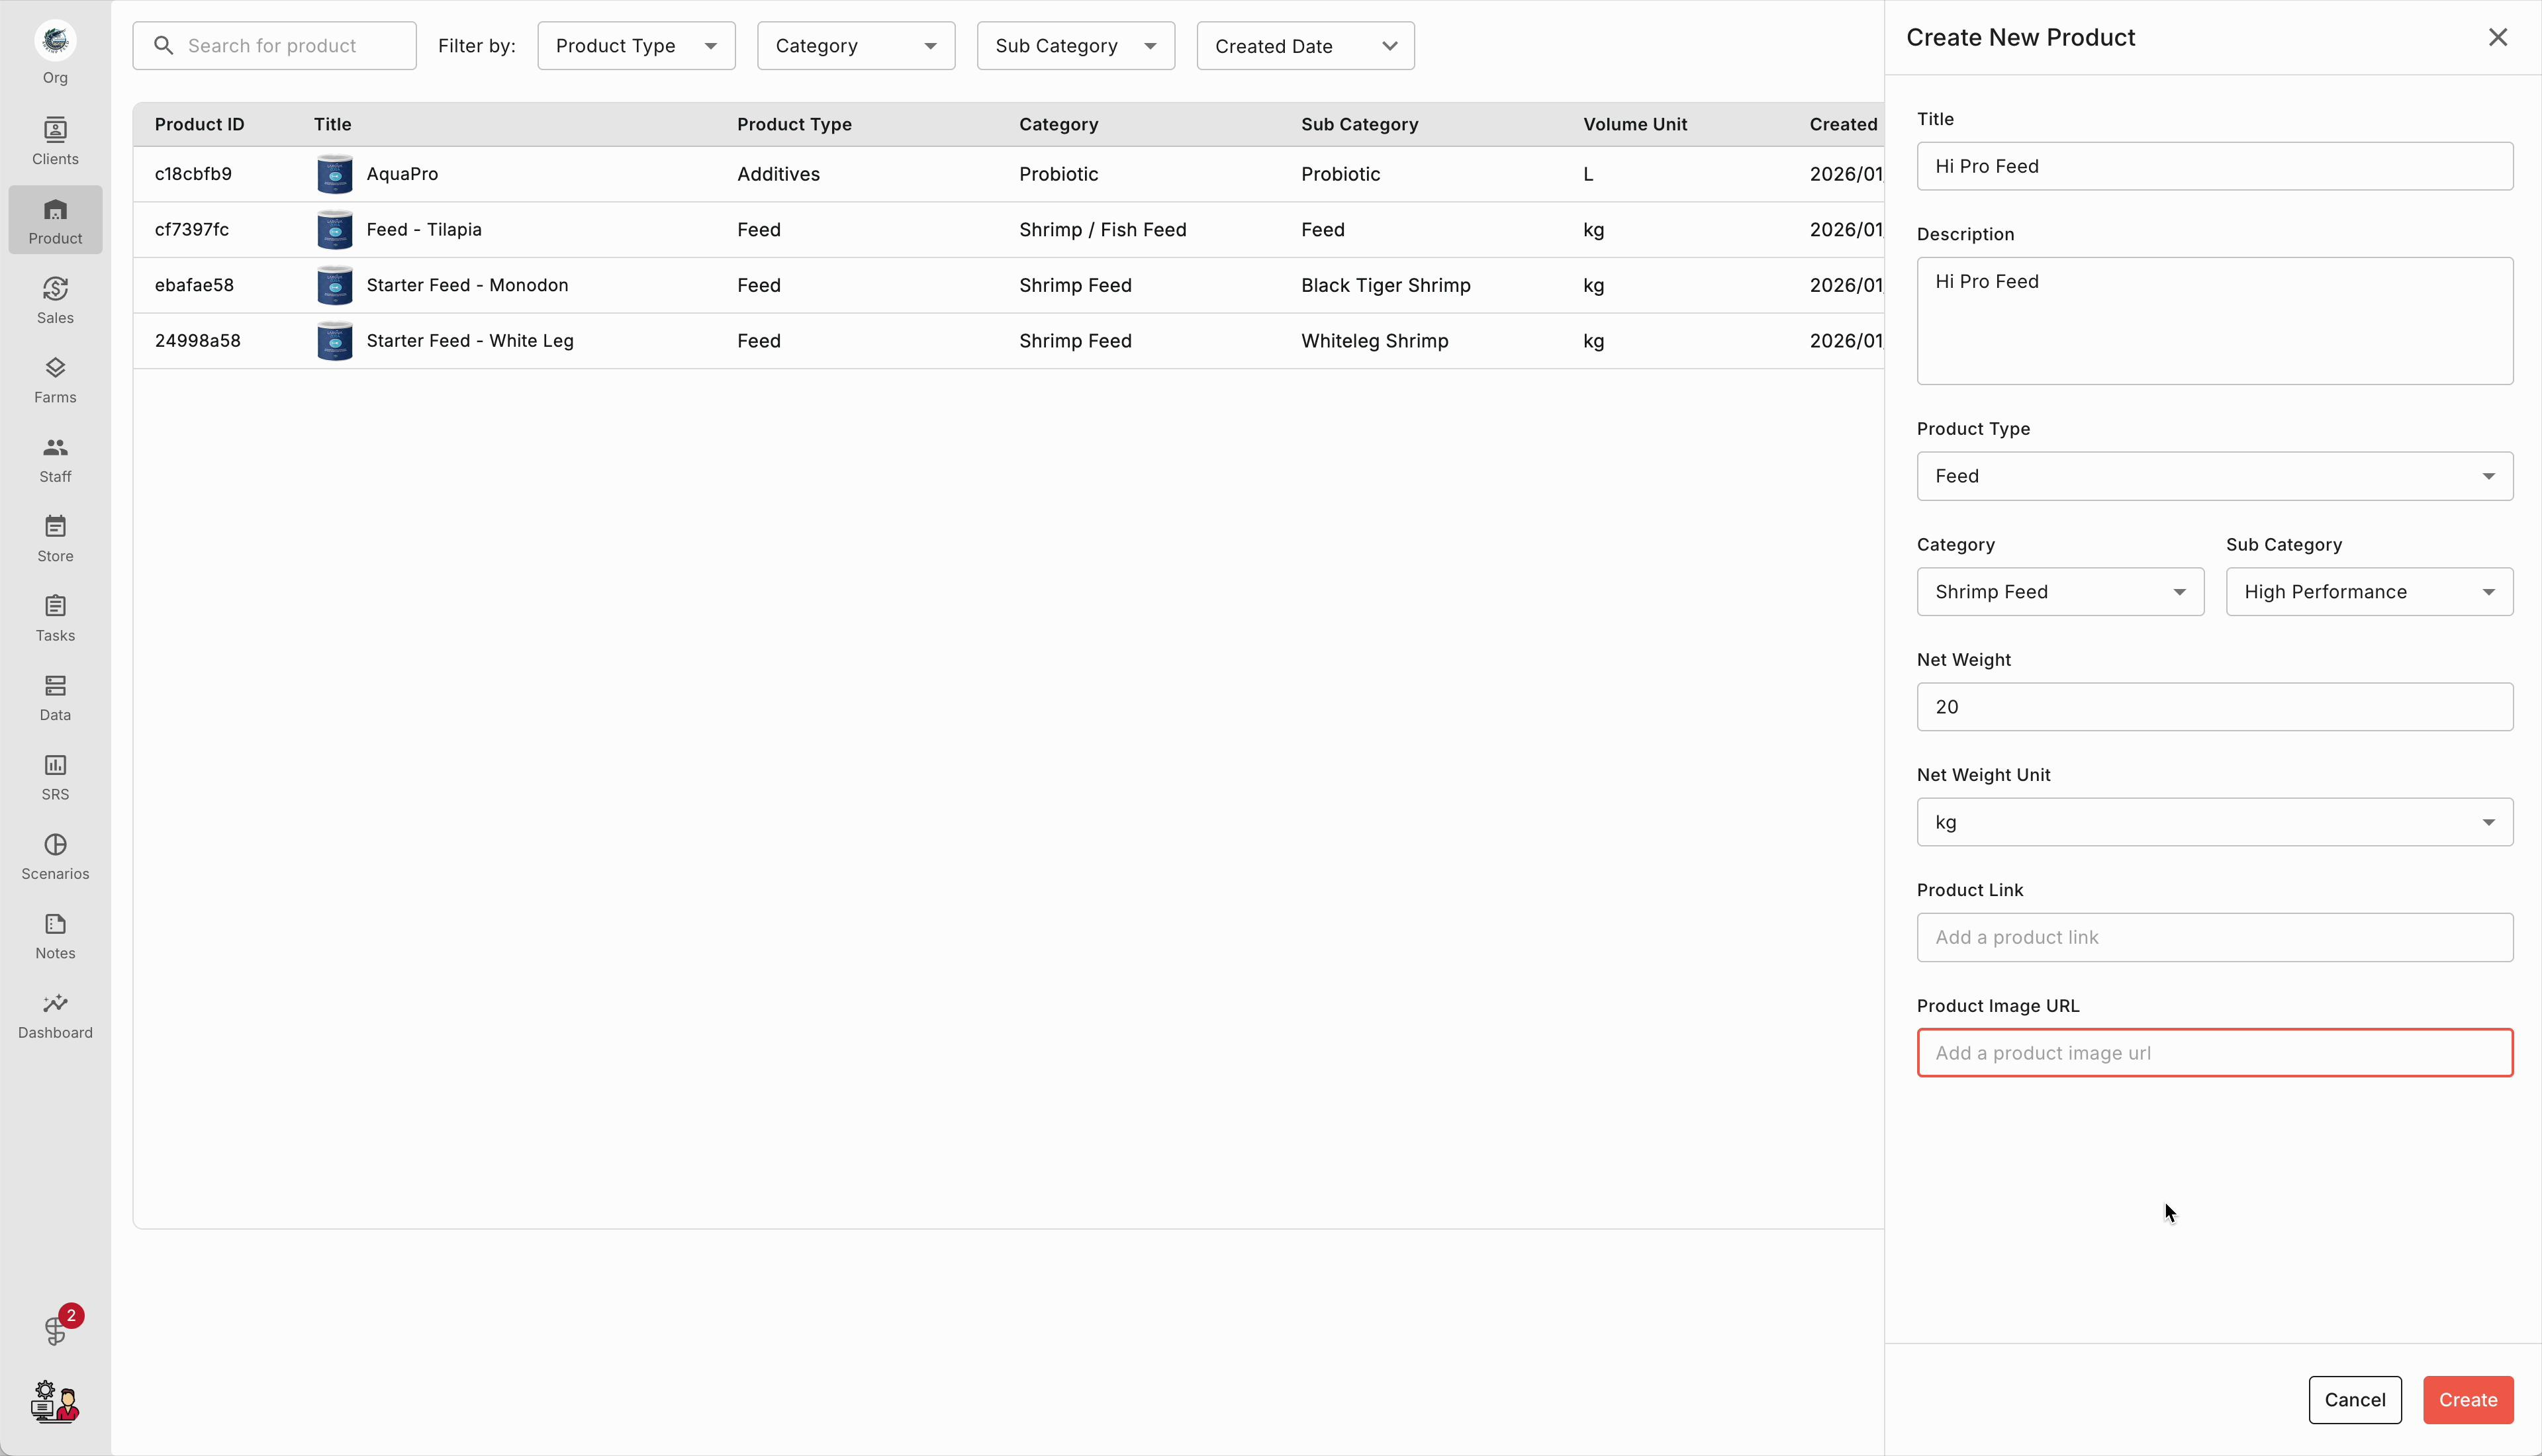
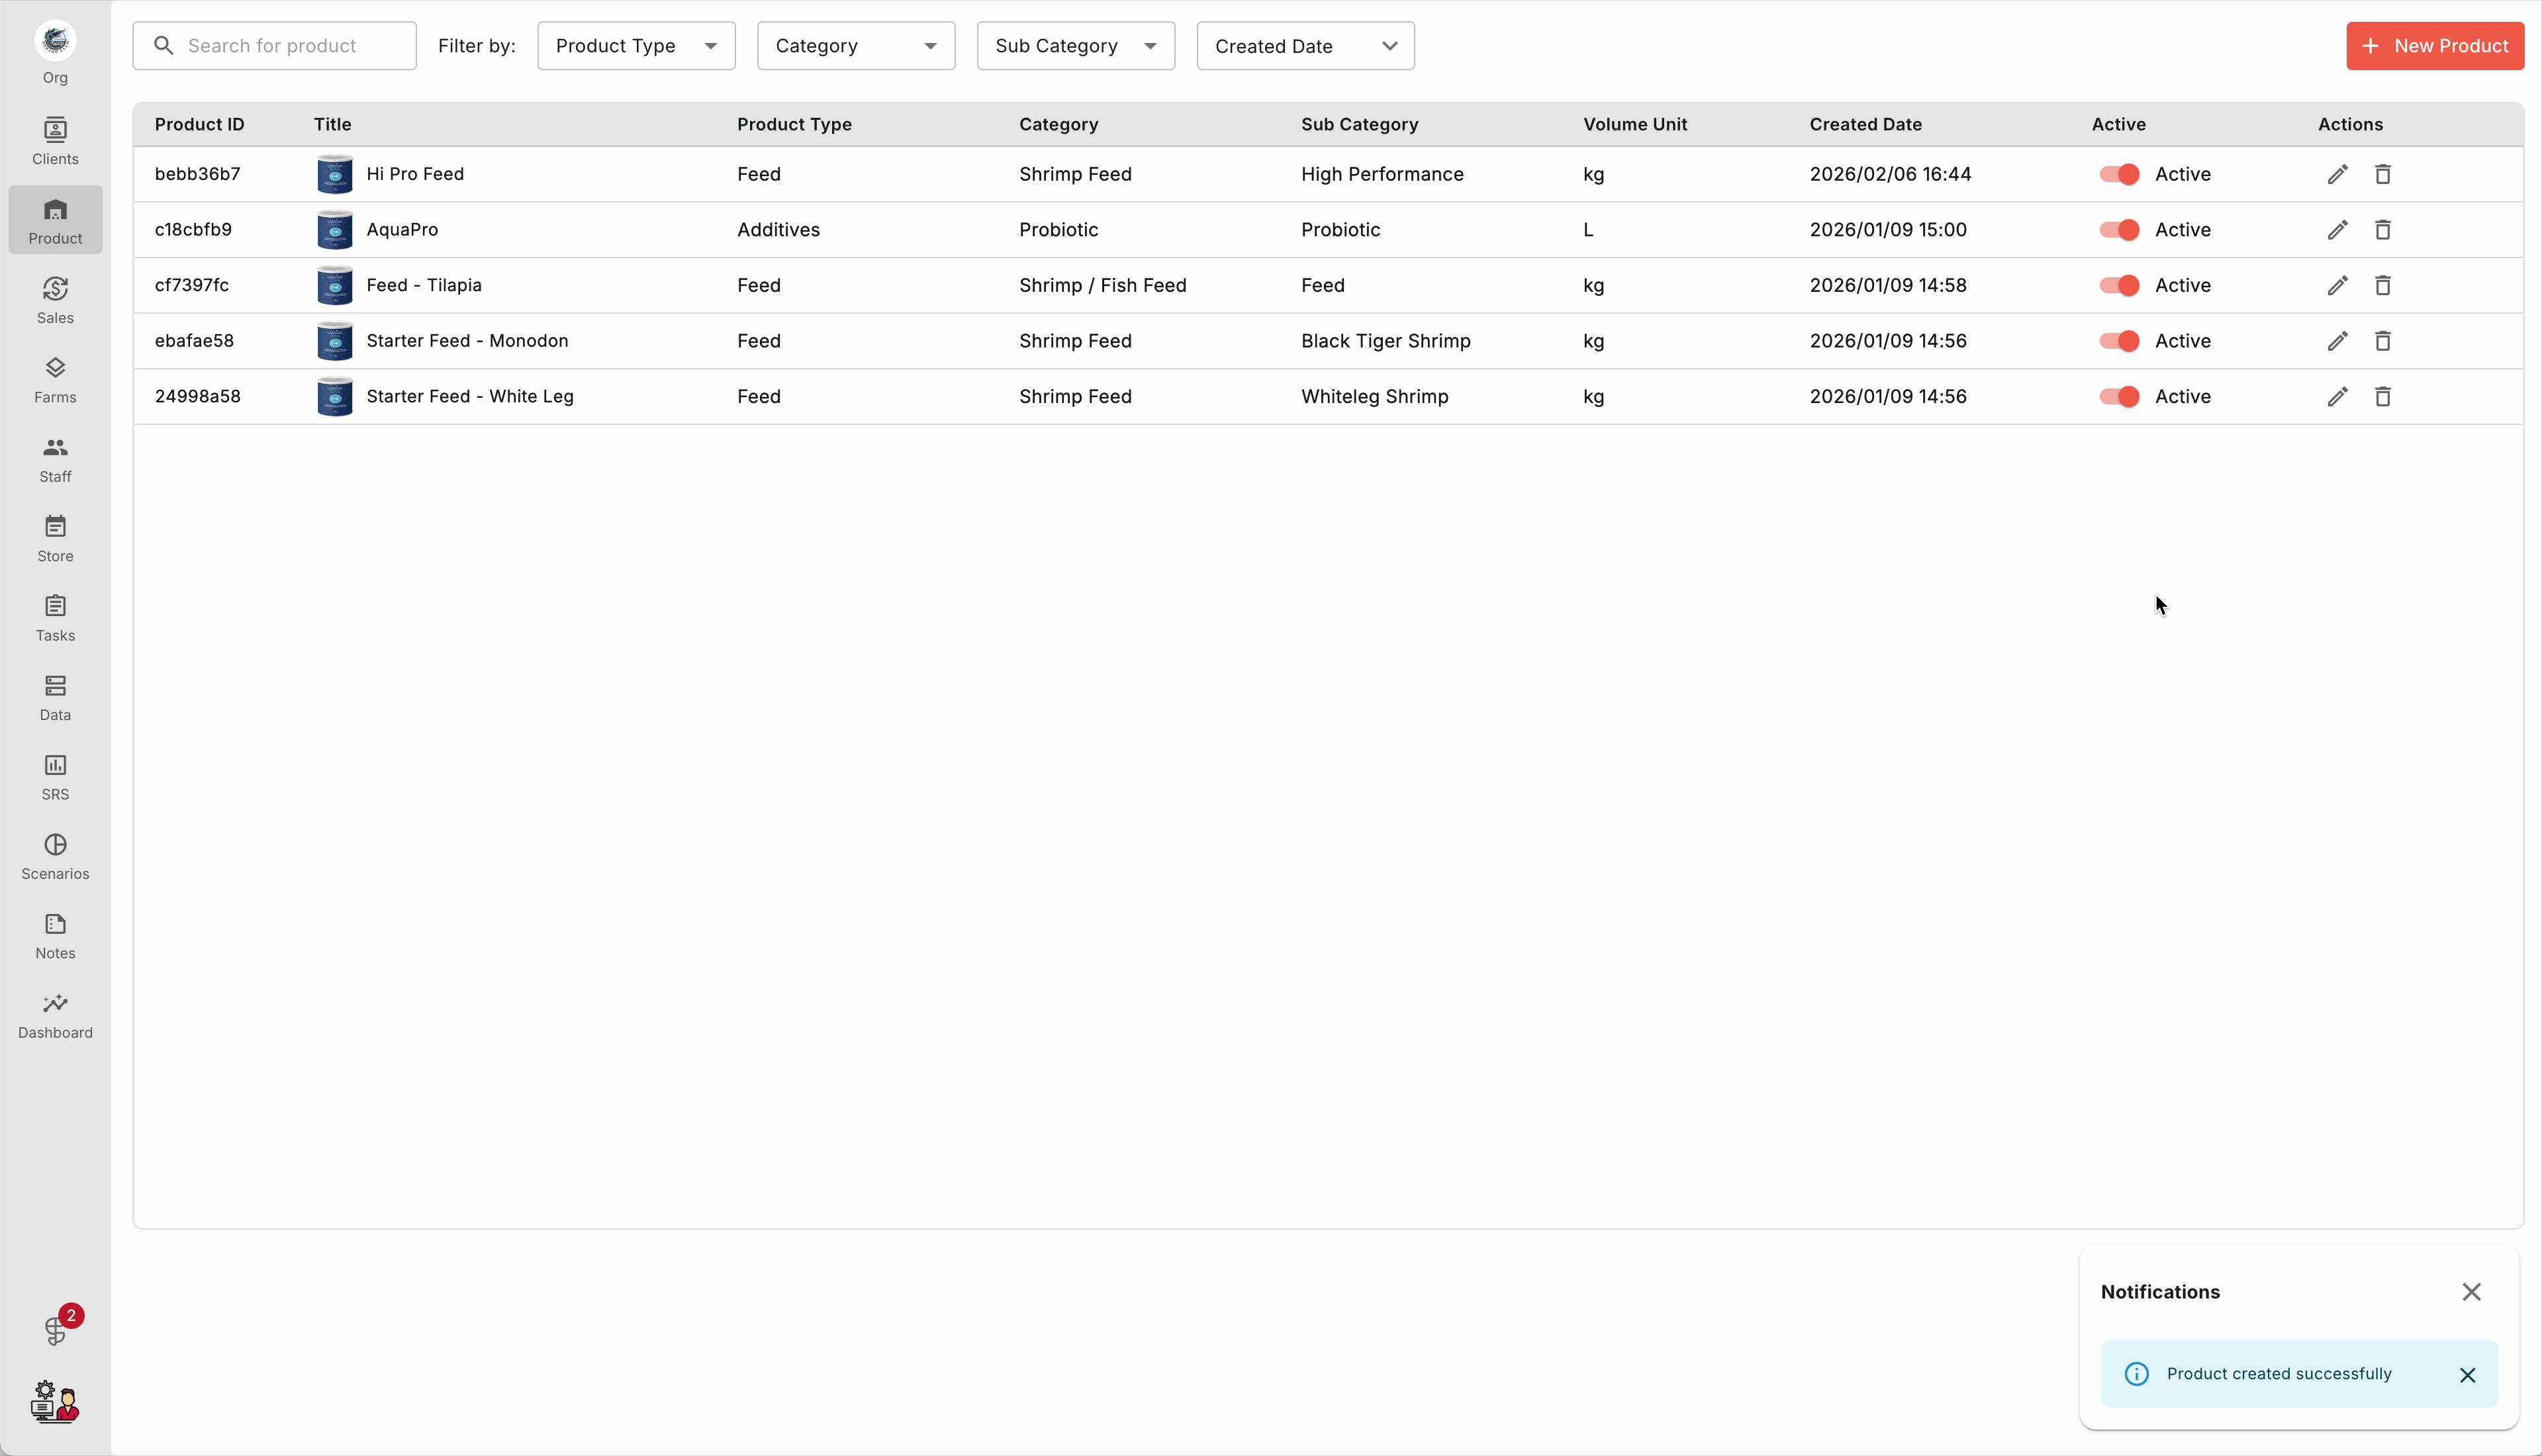
Step 8: Submit the form and look for the success confirmation.

Step 9: Return to the main product list and verify your new product appears in the table.
Adding products this way helps your catalog stay clean and searchable. Each new entry will be set up for fast lookup, accurate tracking, and attractive presentation in your storefront or back office.