How to Create a new Client Profile
Manage your clients efficiently by creating clear, accurate profiles. Setting up new clients ensures smooth communication and access right from the start.
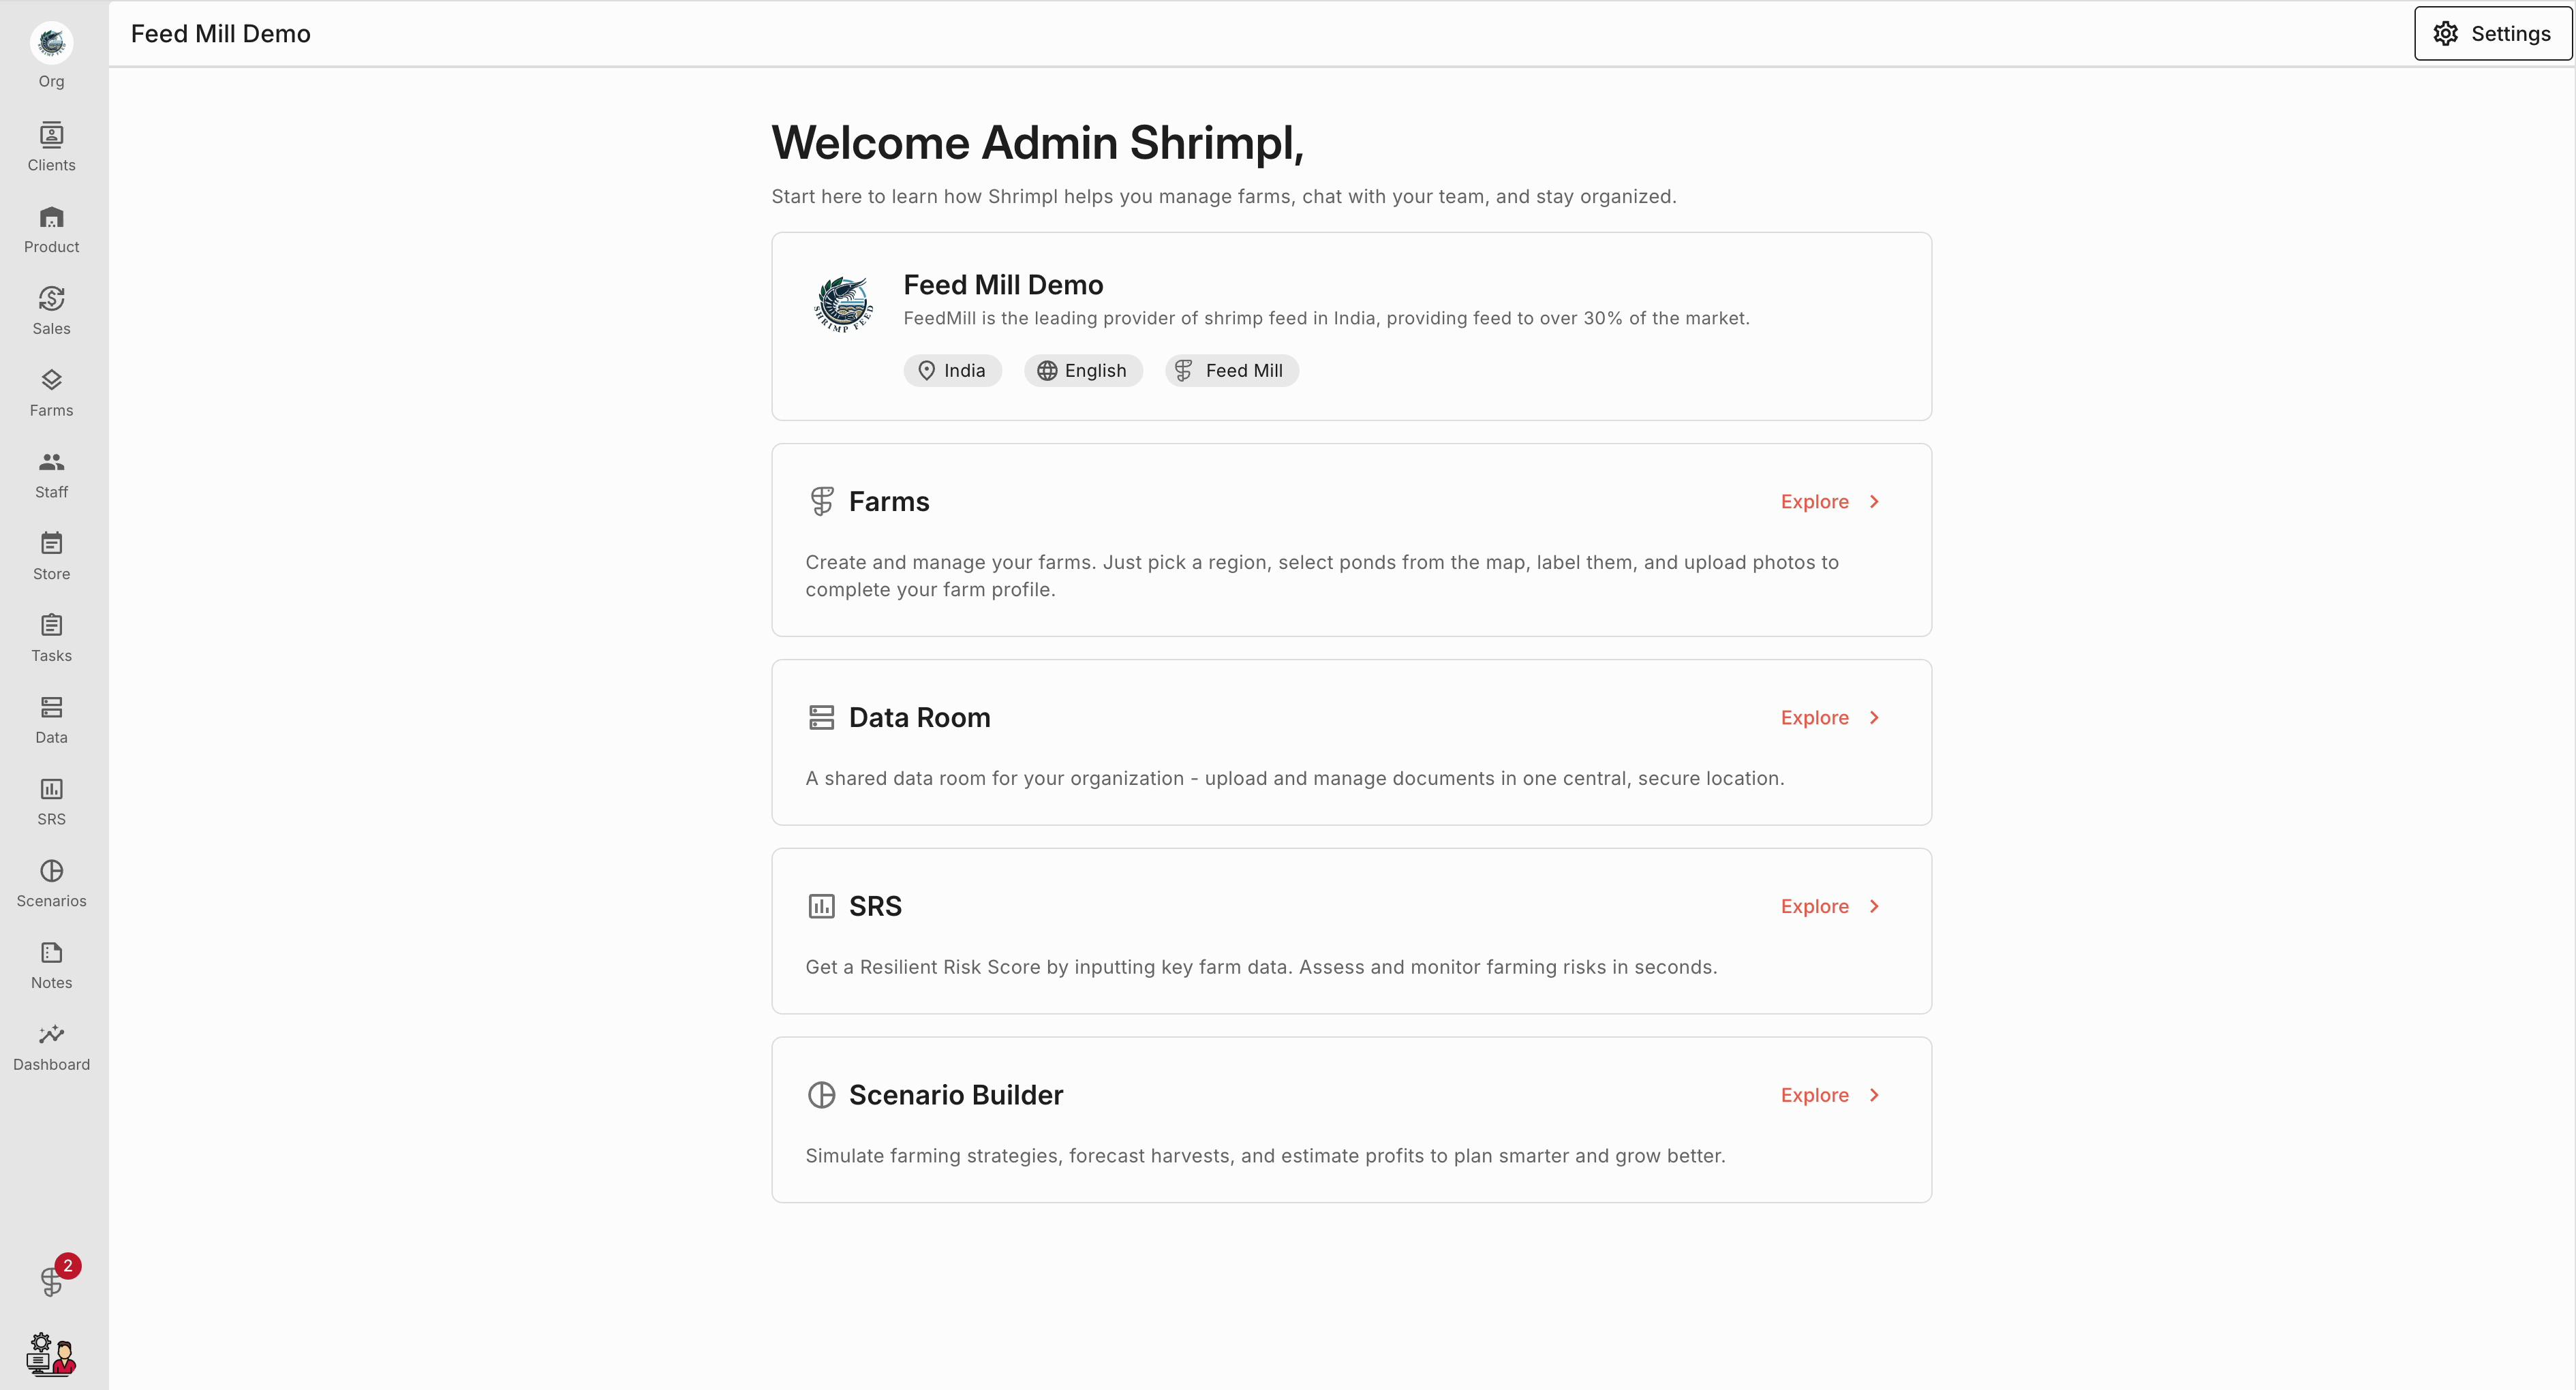
Step 1: From the main dashboard, open Client Management to see your current client list.
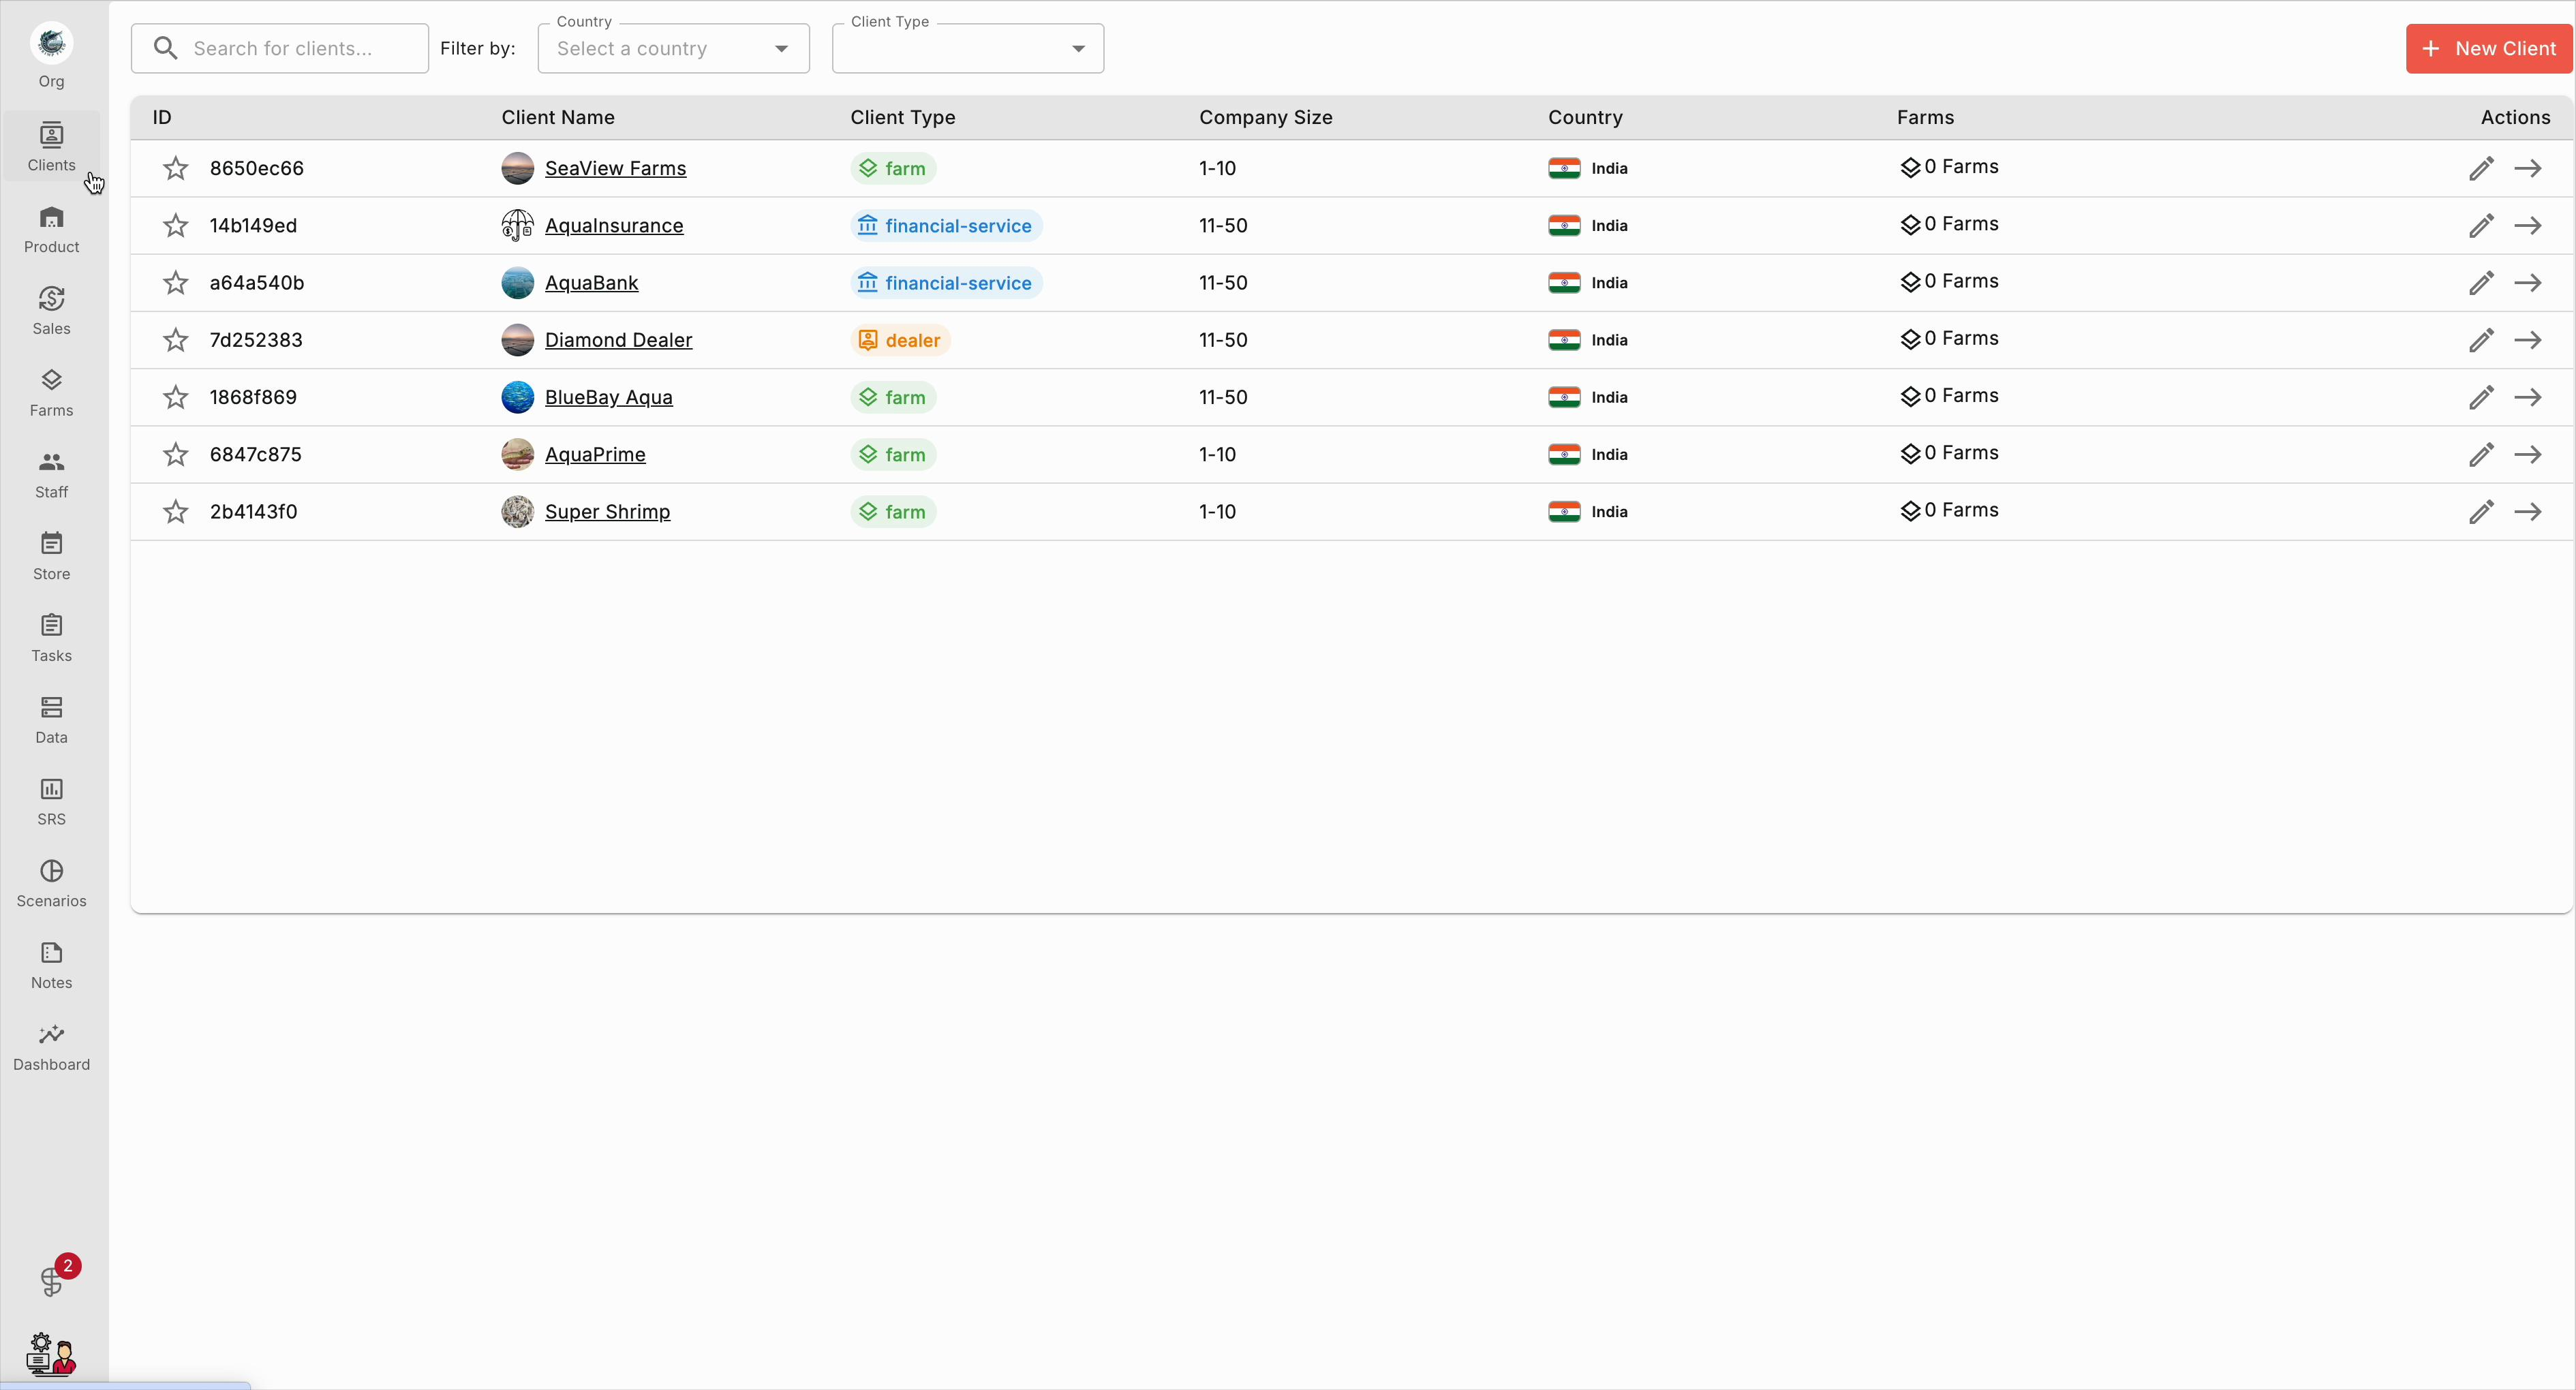
Step 2: On the Clients page, click Create New Client.
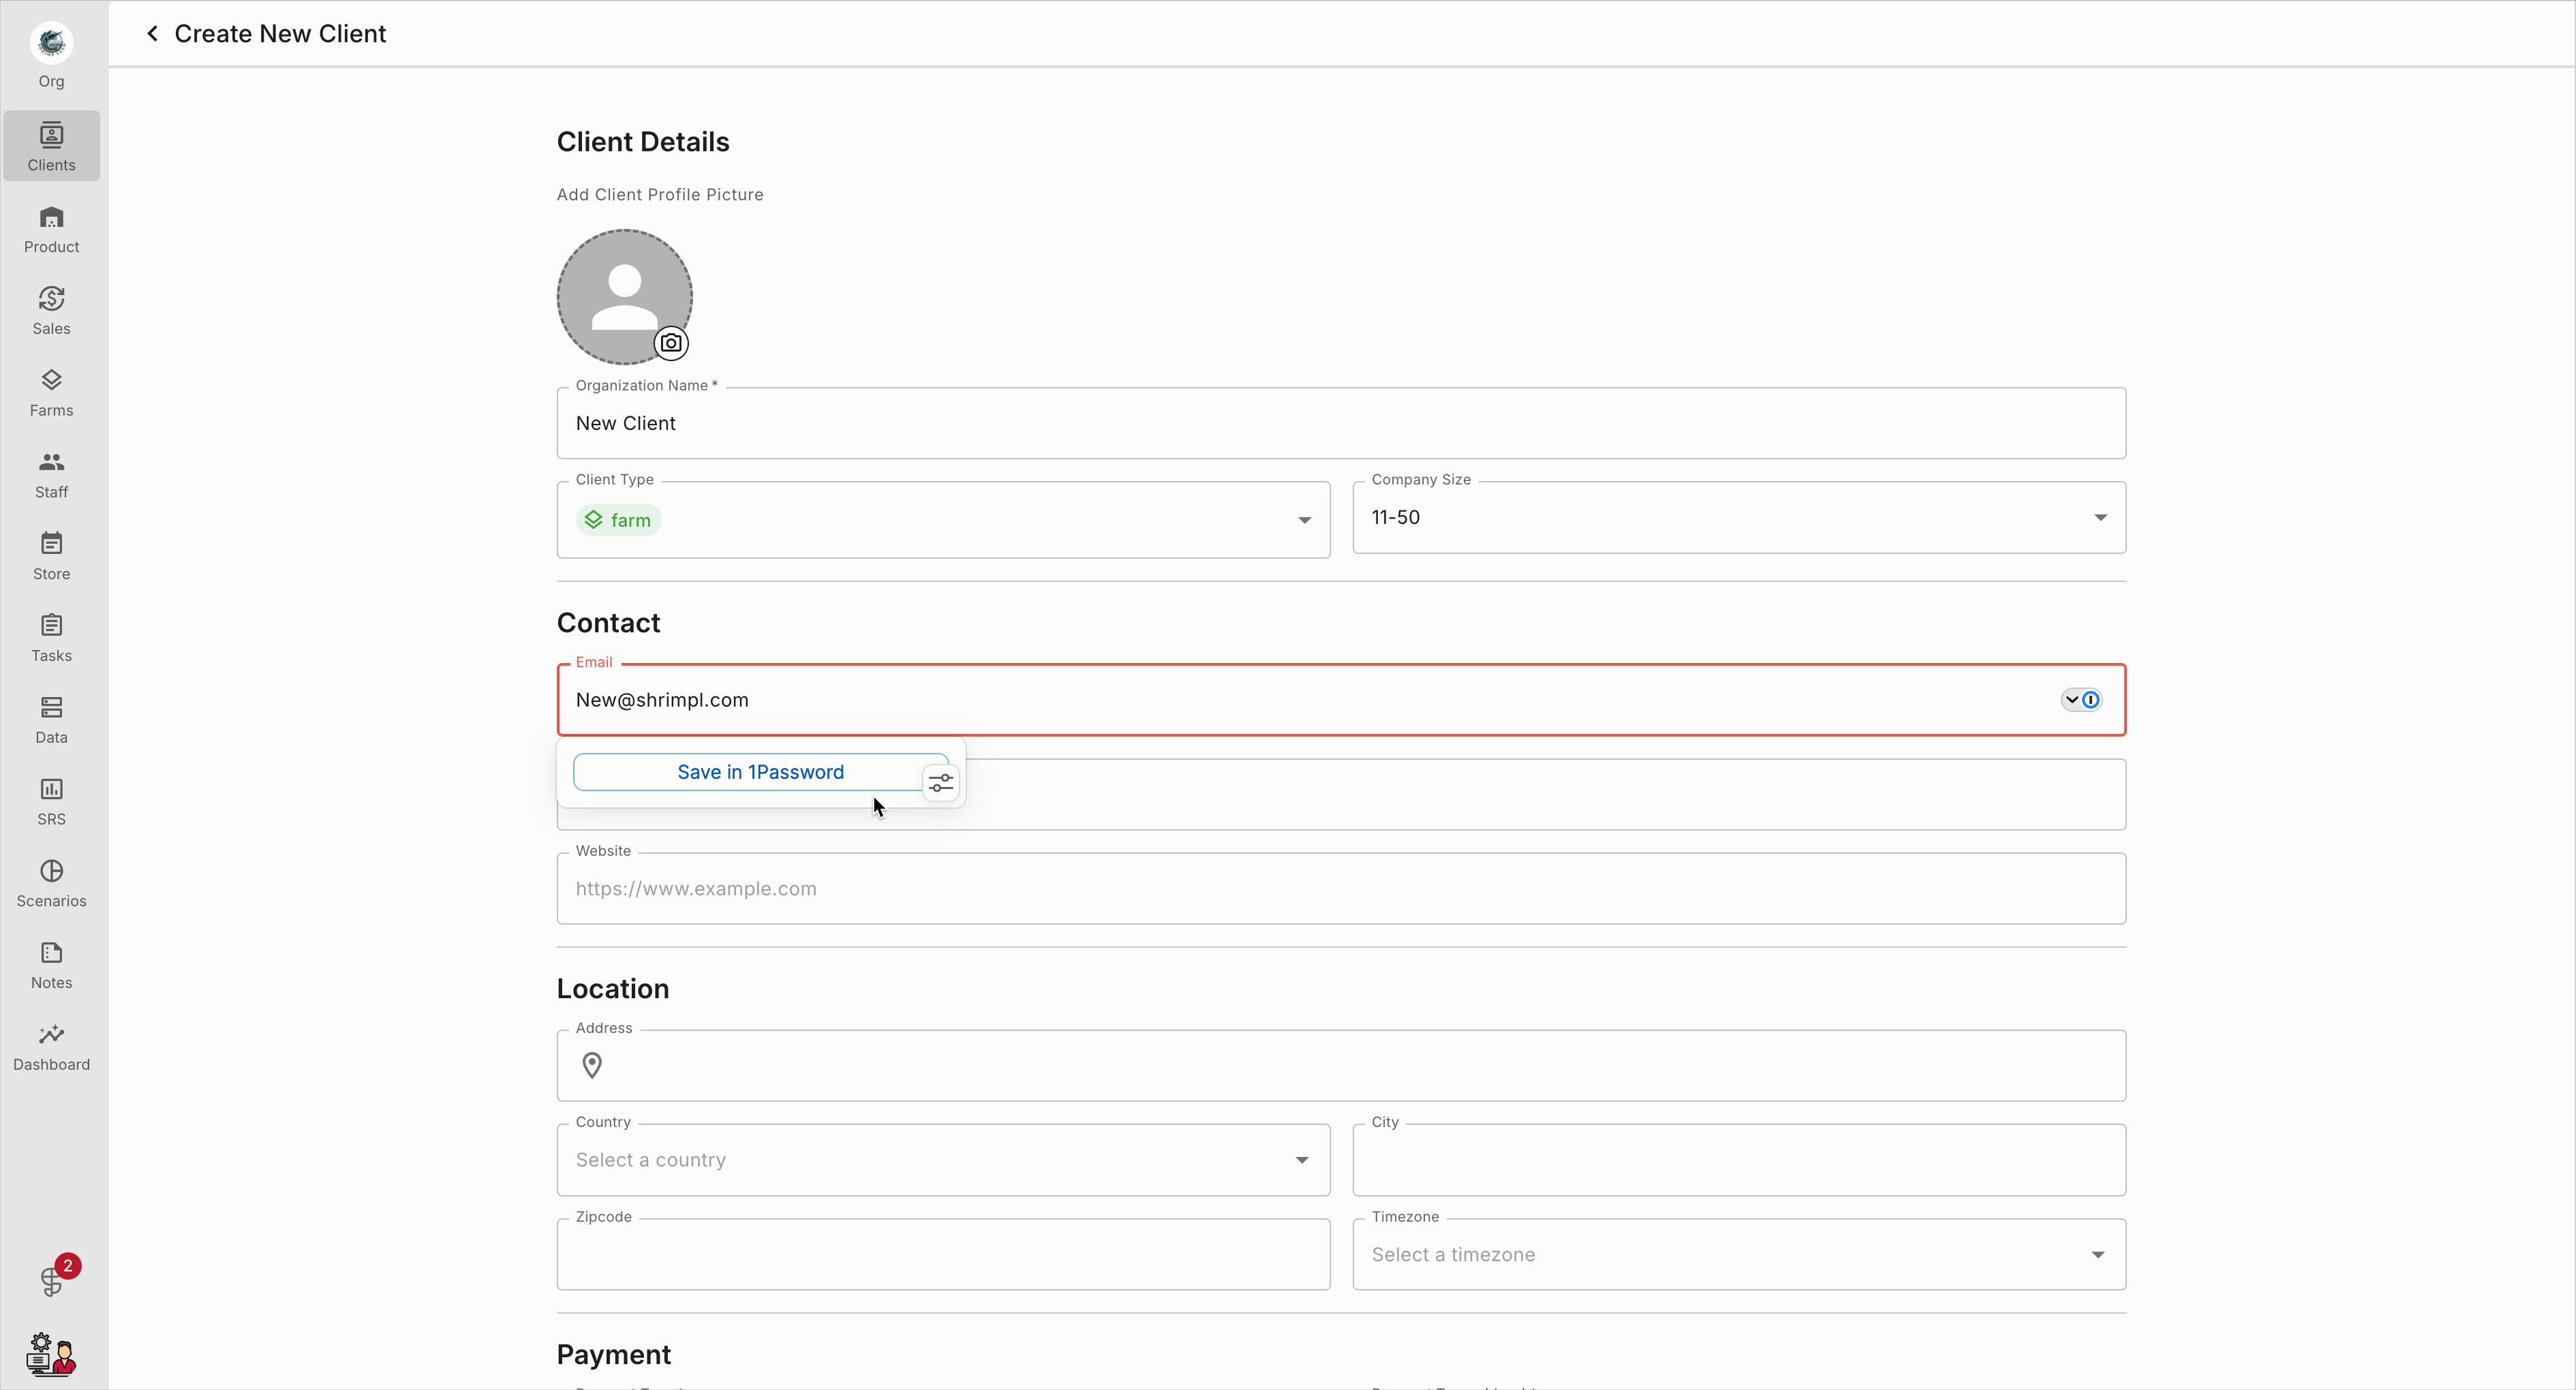
Step 3: In the new profile form, enter the client’s email address in the Contact section.

Step 4: Double-check the email to prevent any login or notification issues.
Step 5: Scroll to the Location section and pick the correct country from the dropdown. Make sure your selection appears in the field.
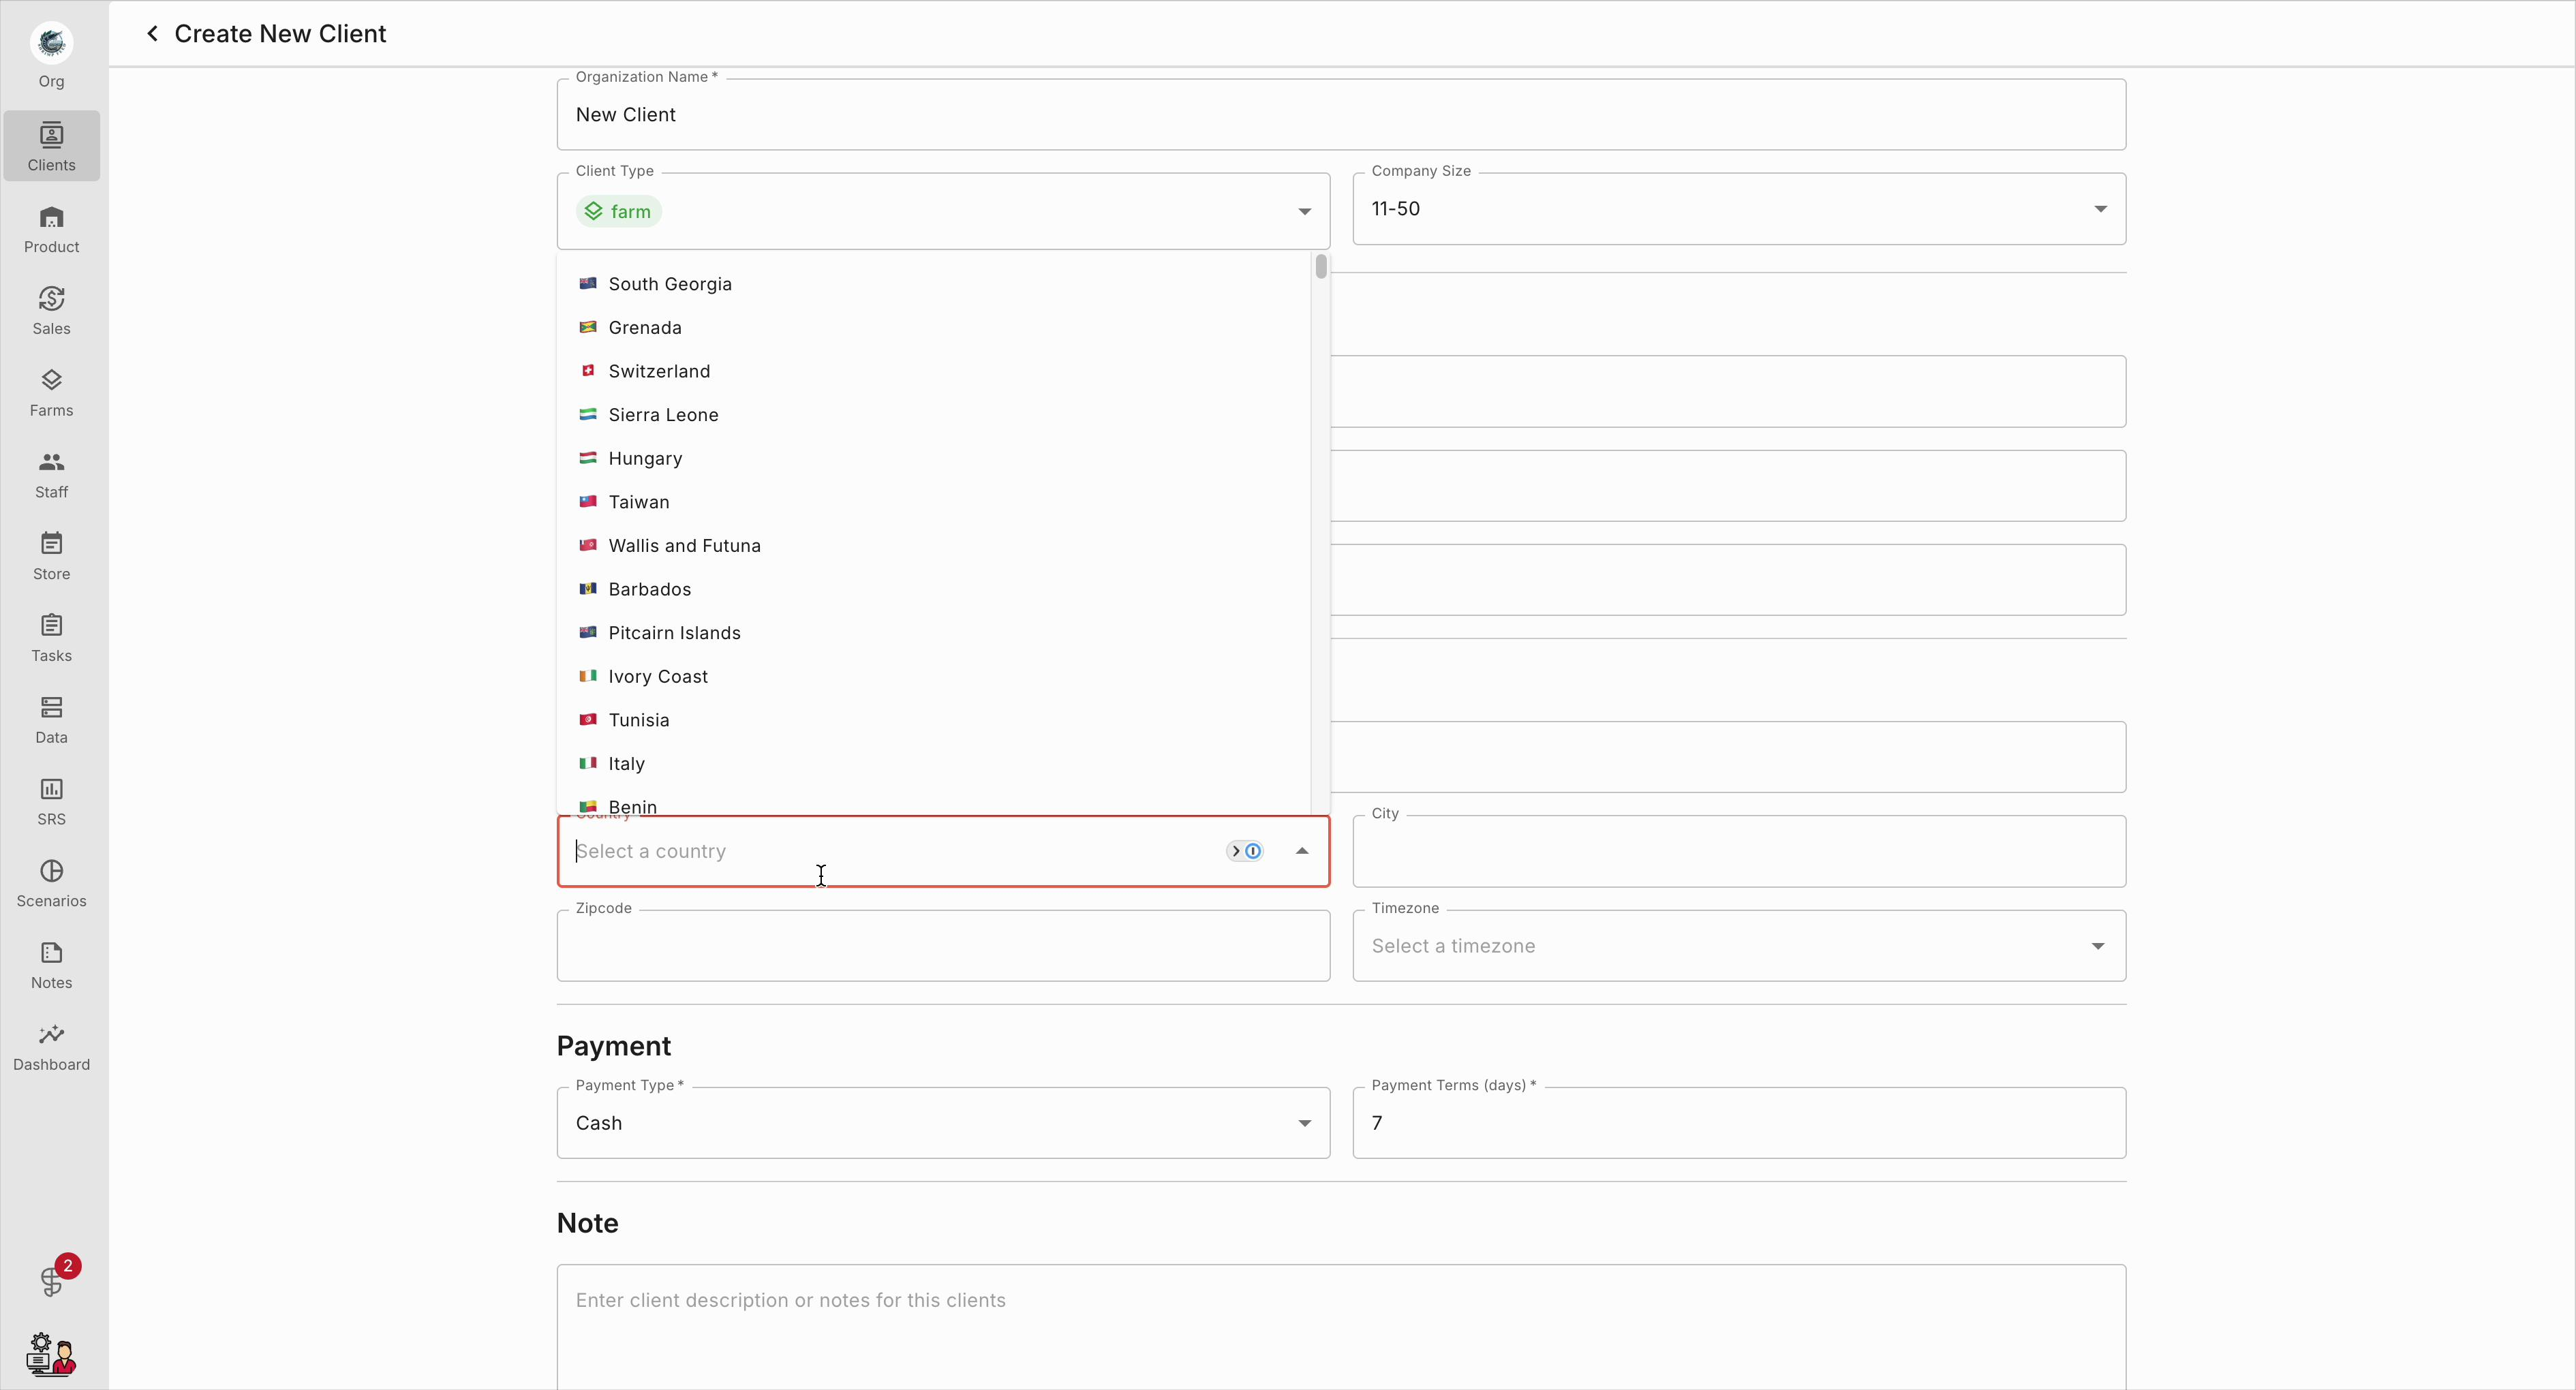
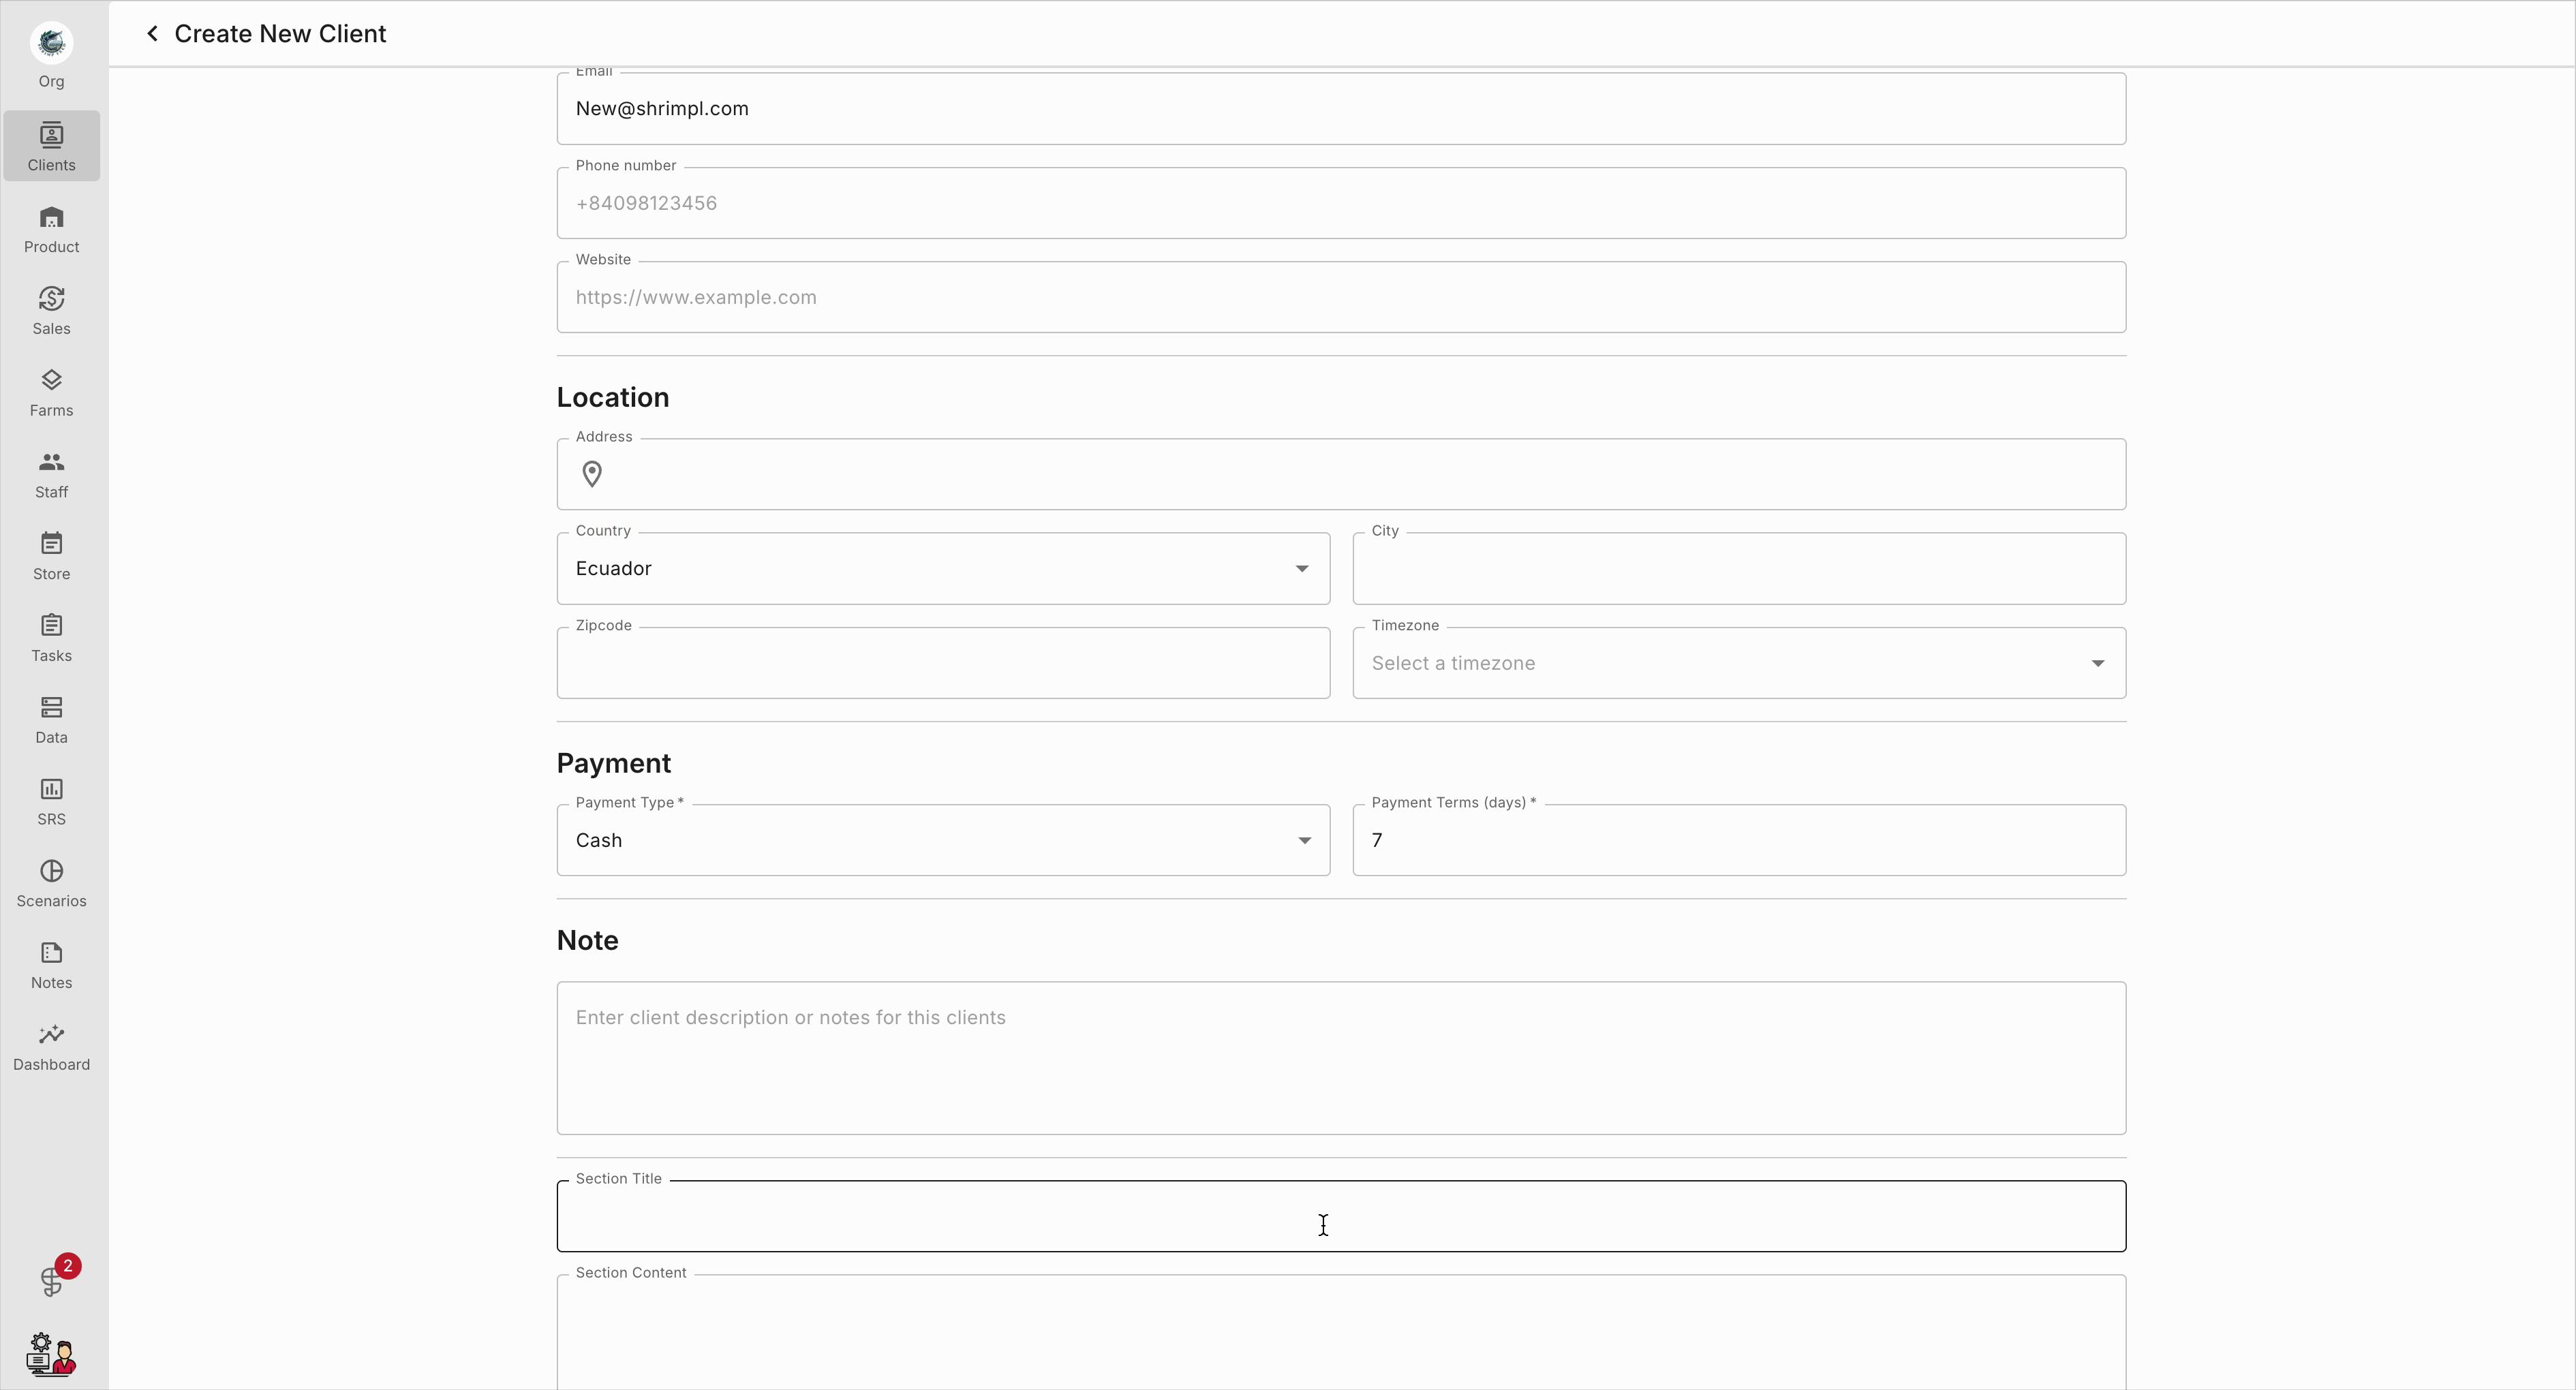
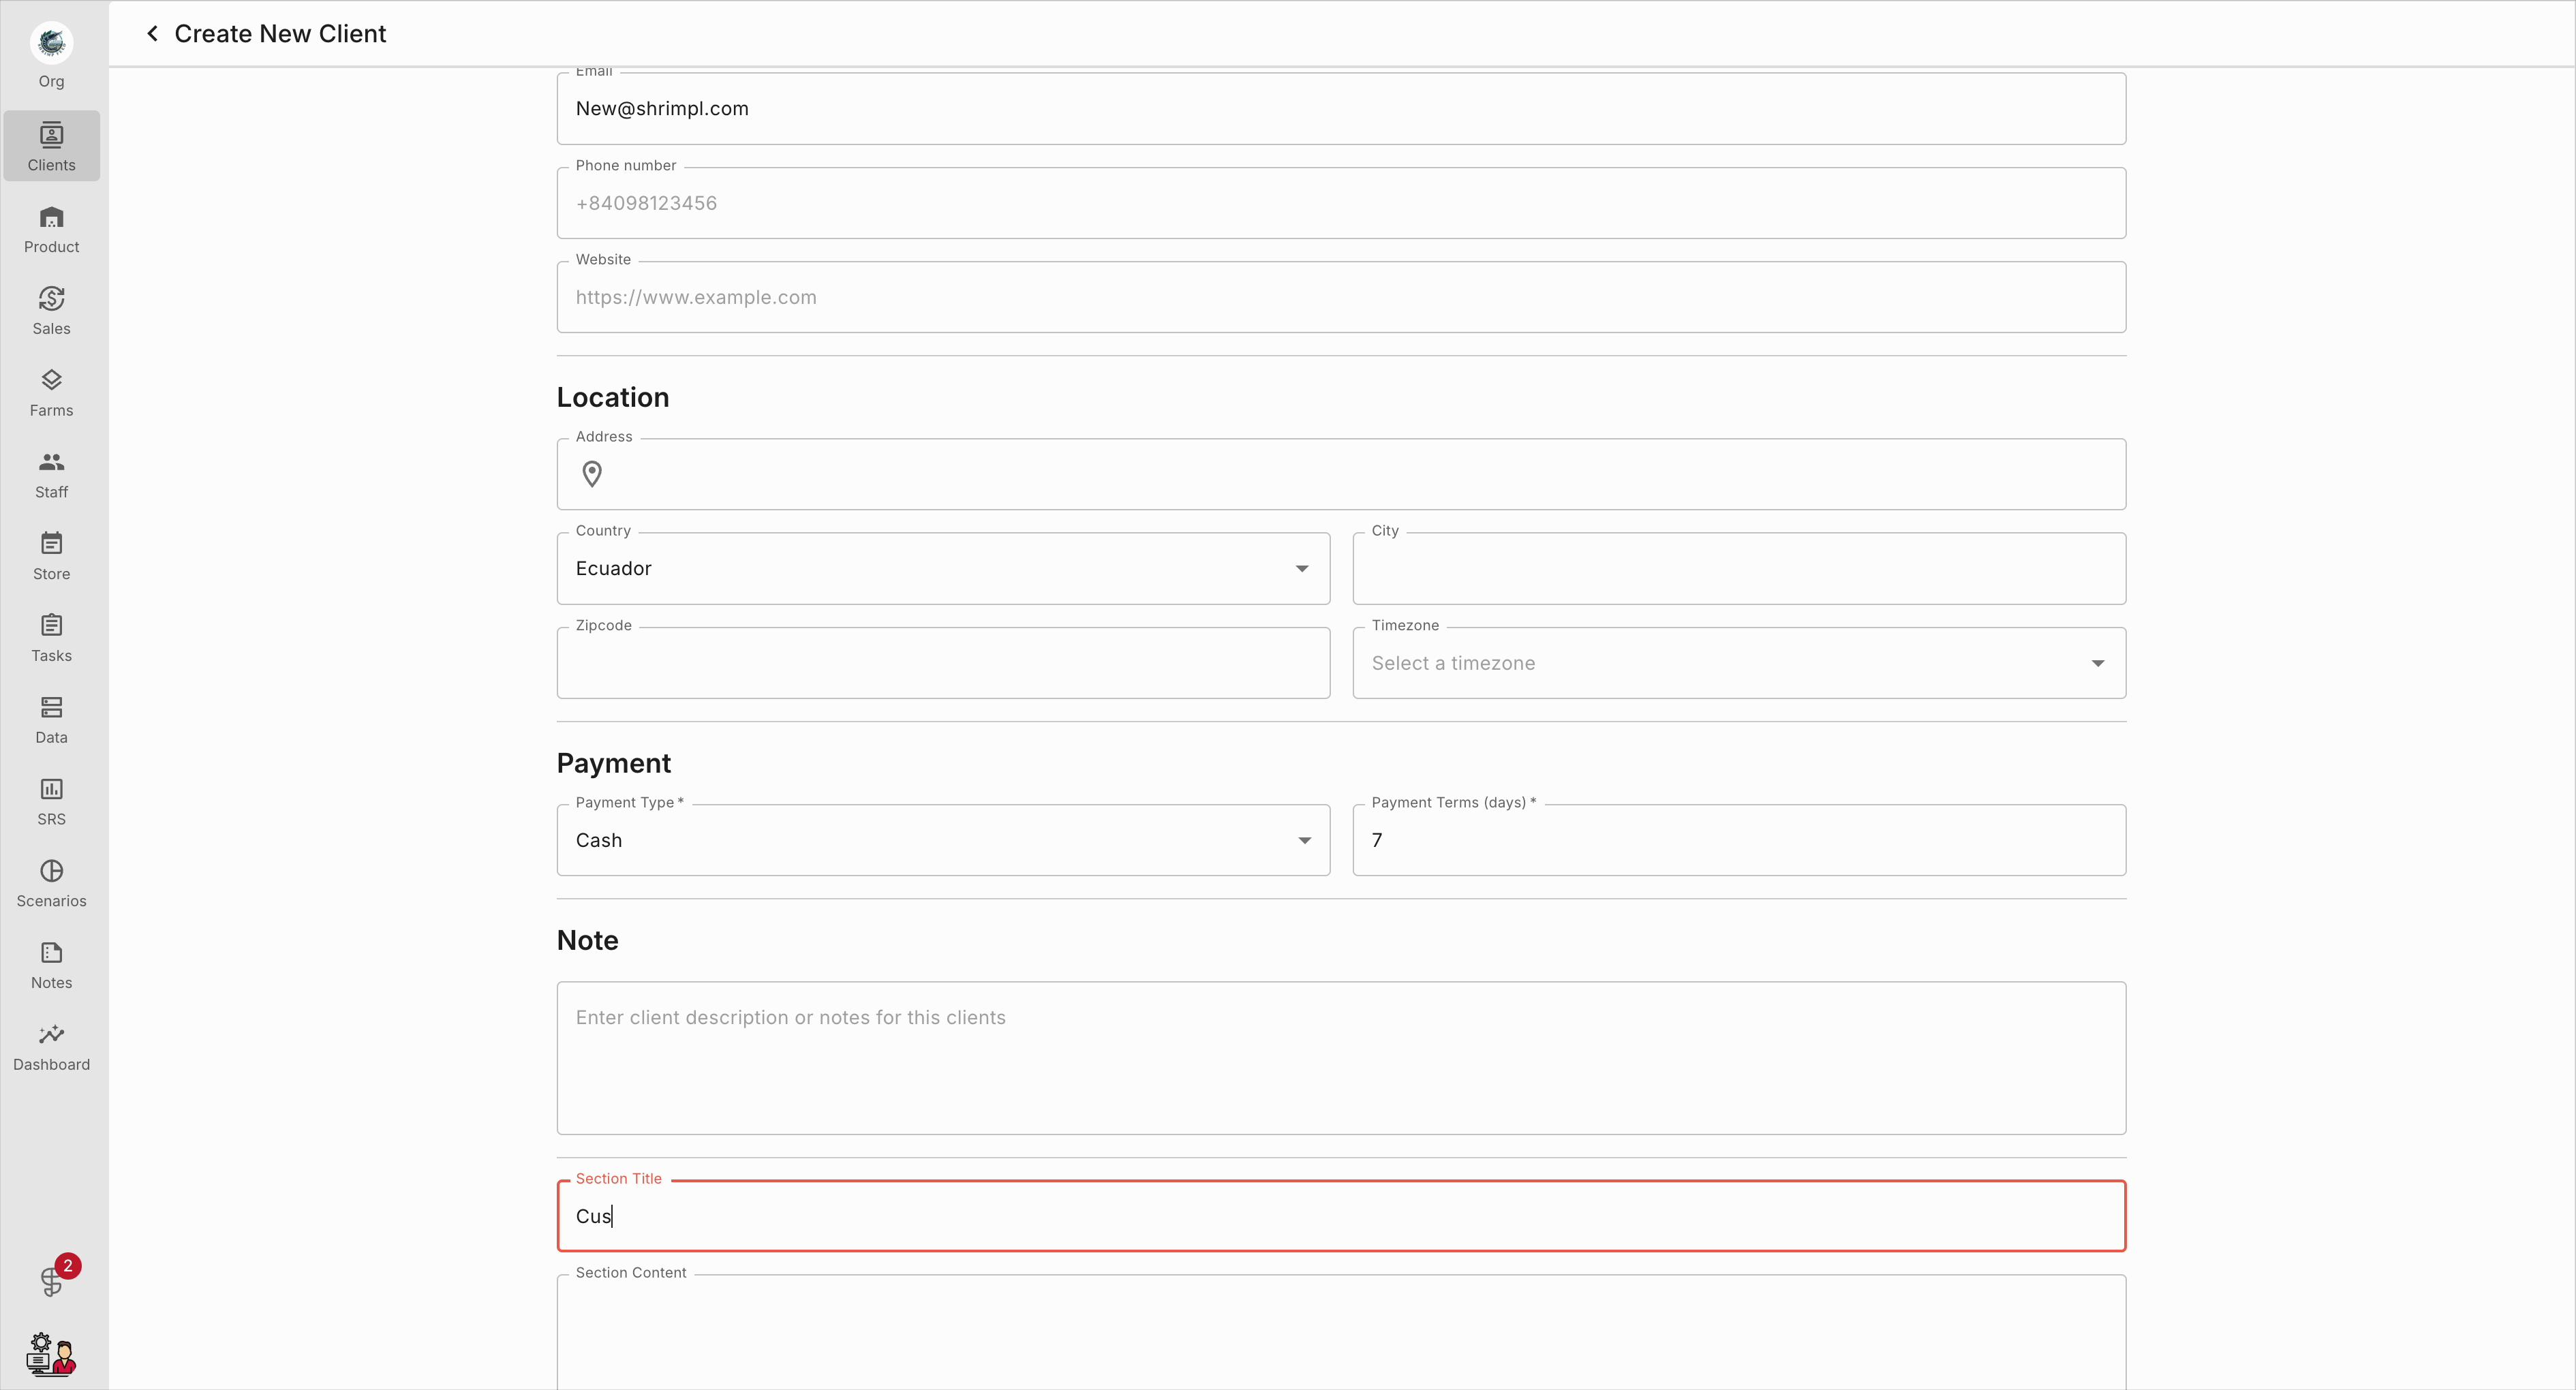
Step 6: To add more context, scroll to the Note area and enter important information in the Custom Field.
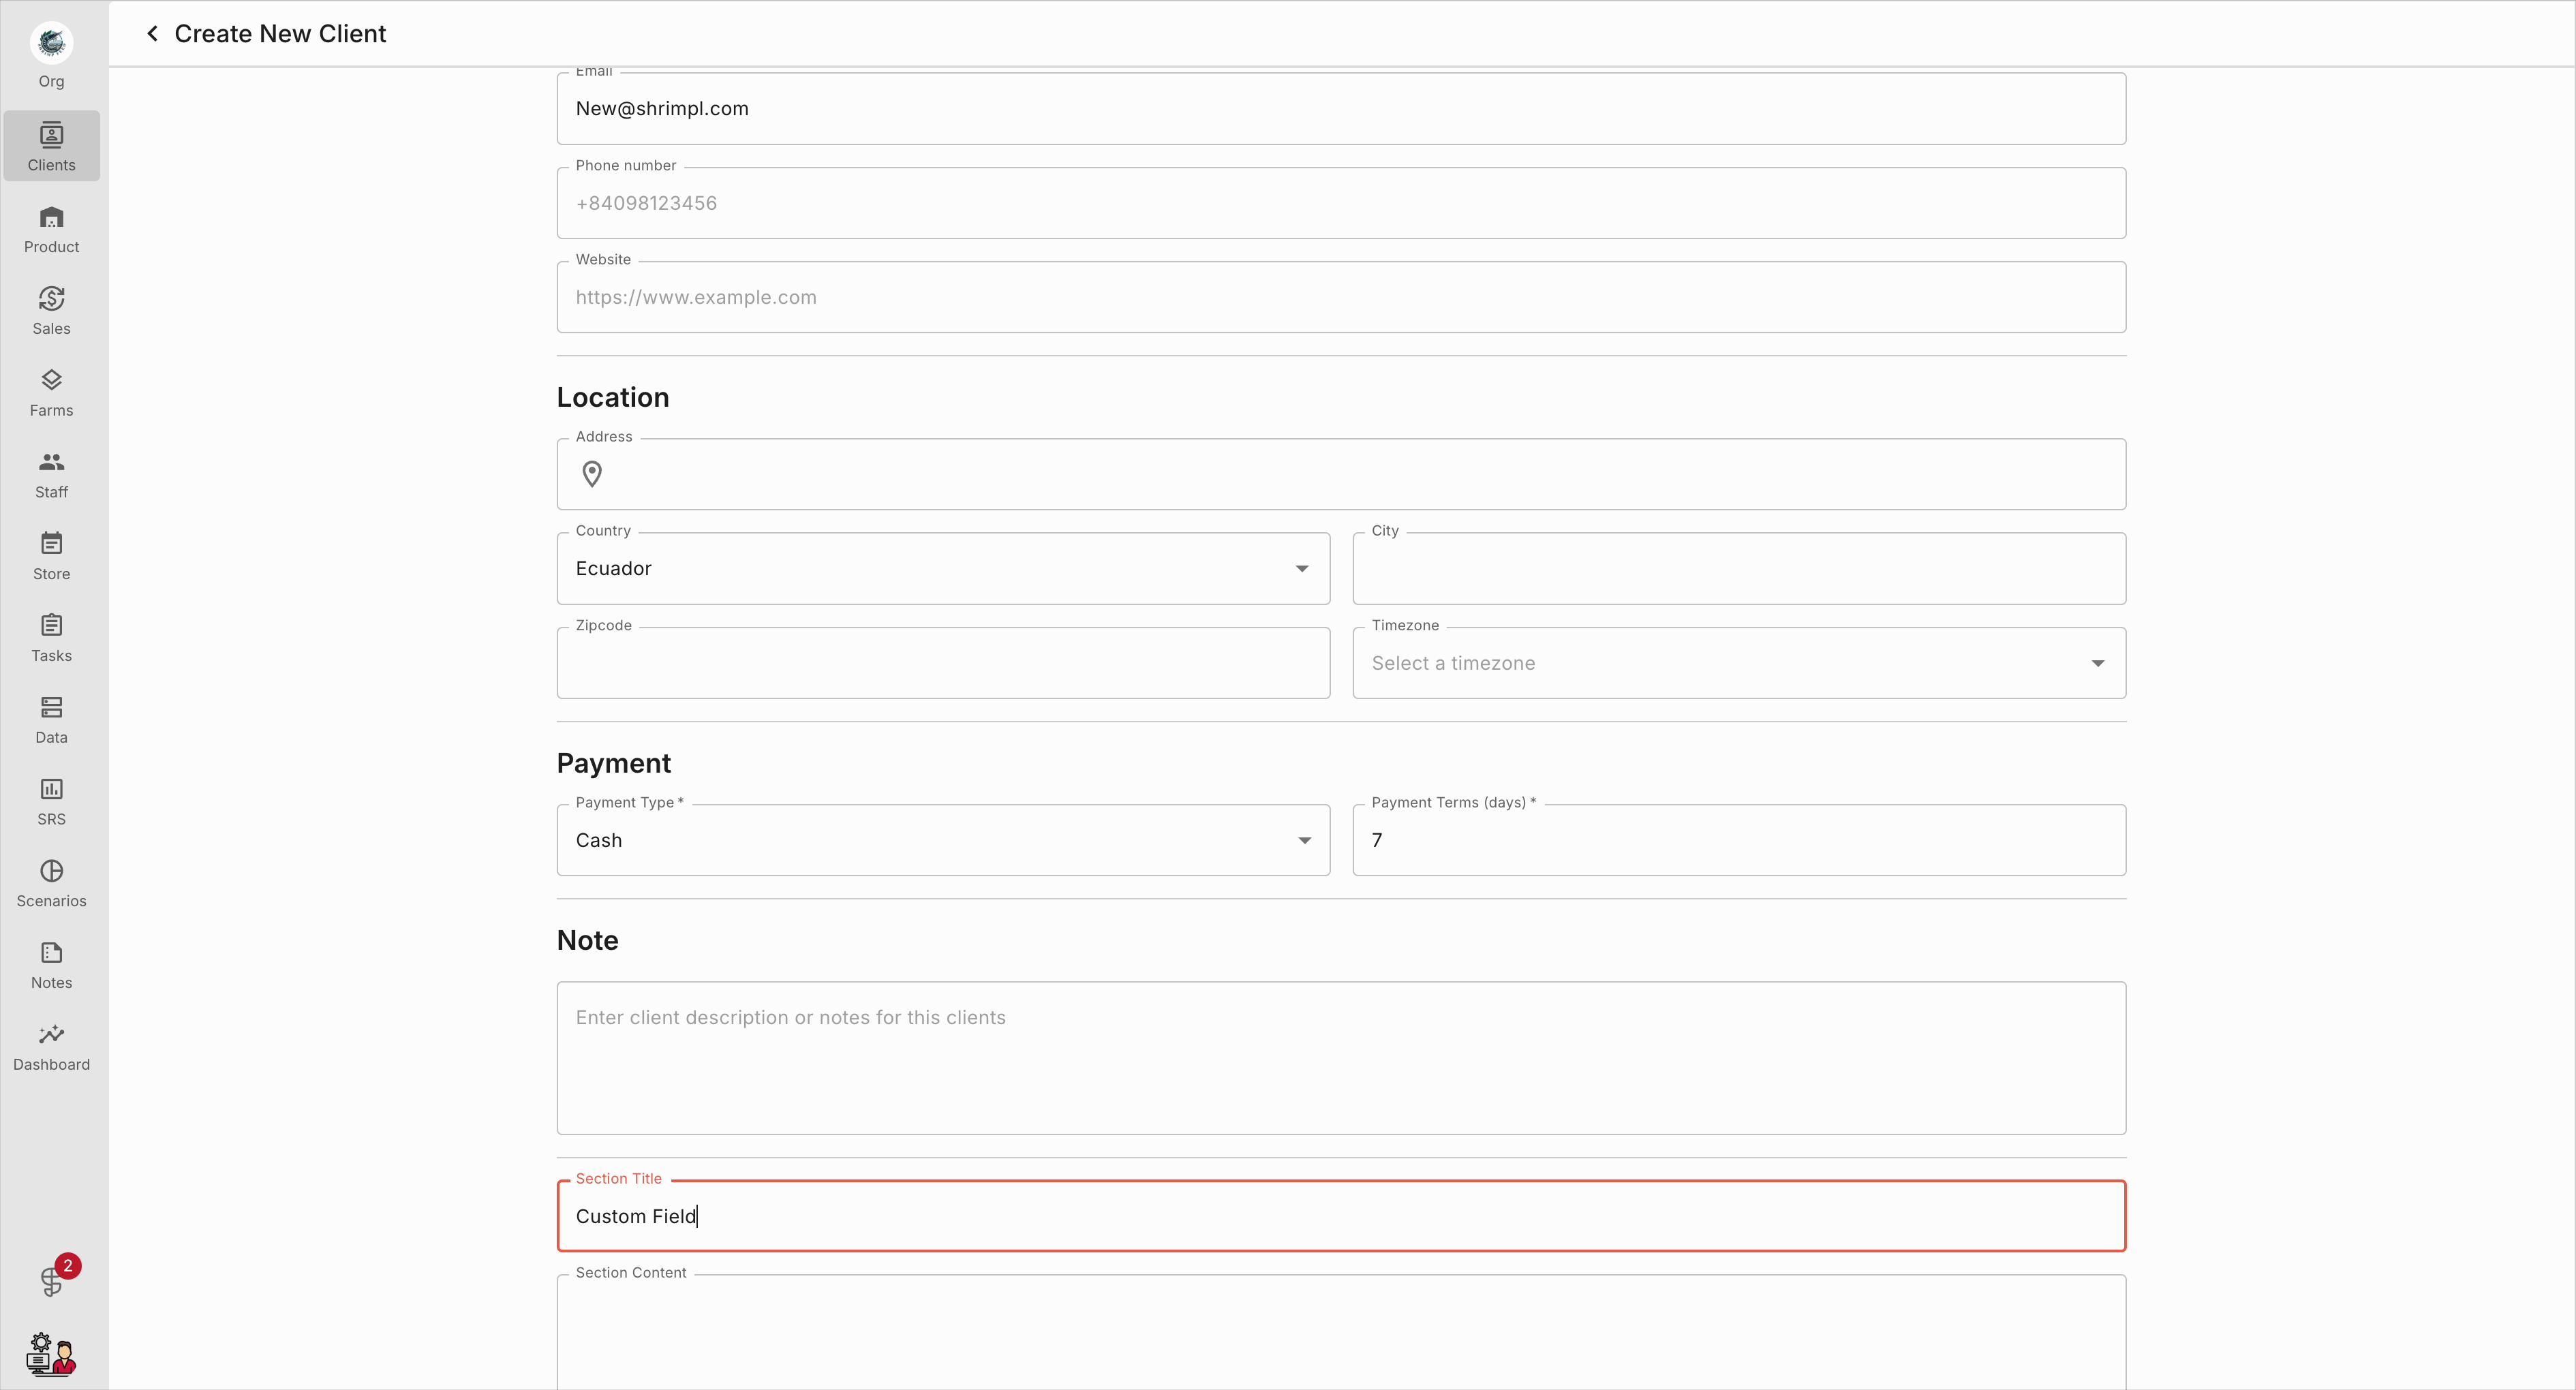
Step 7: Review and refine your notes so they’re clear and consistent.
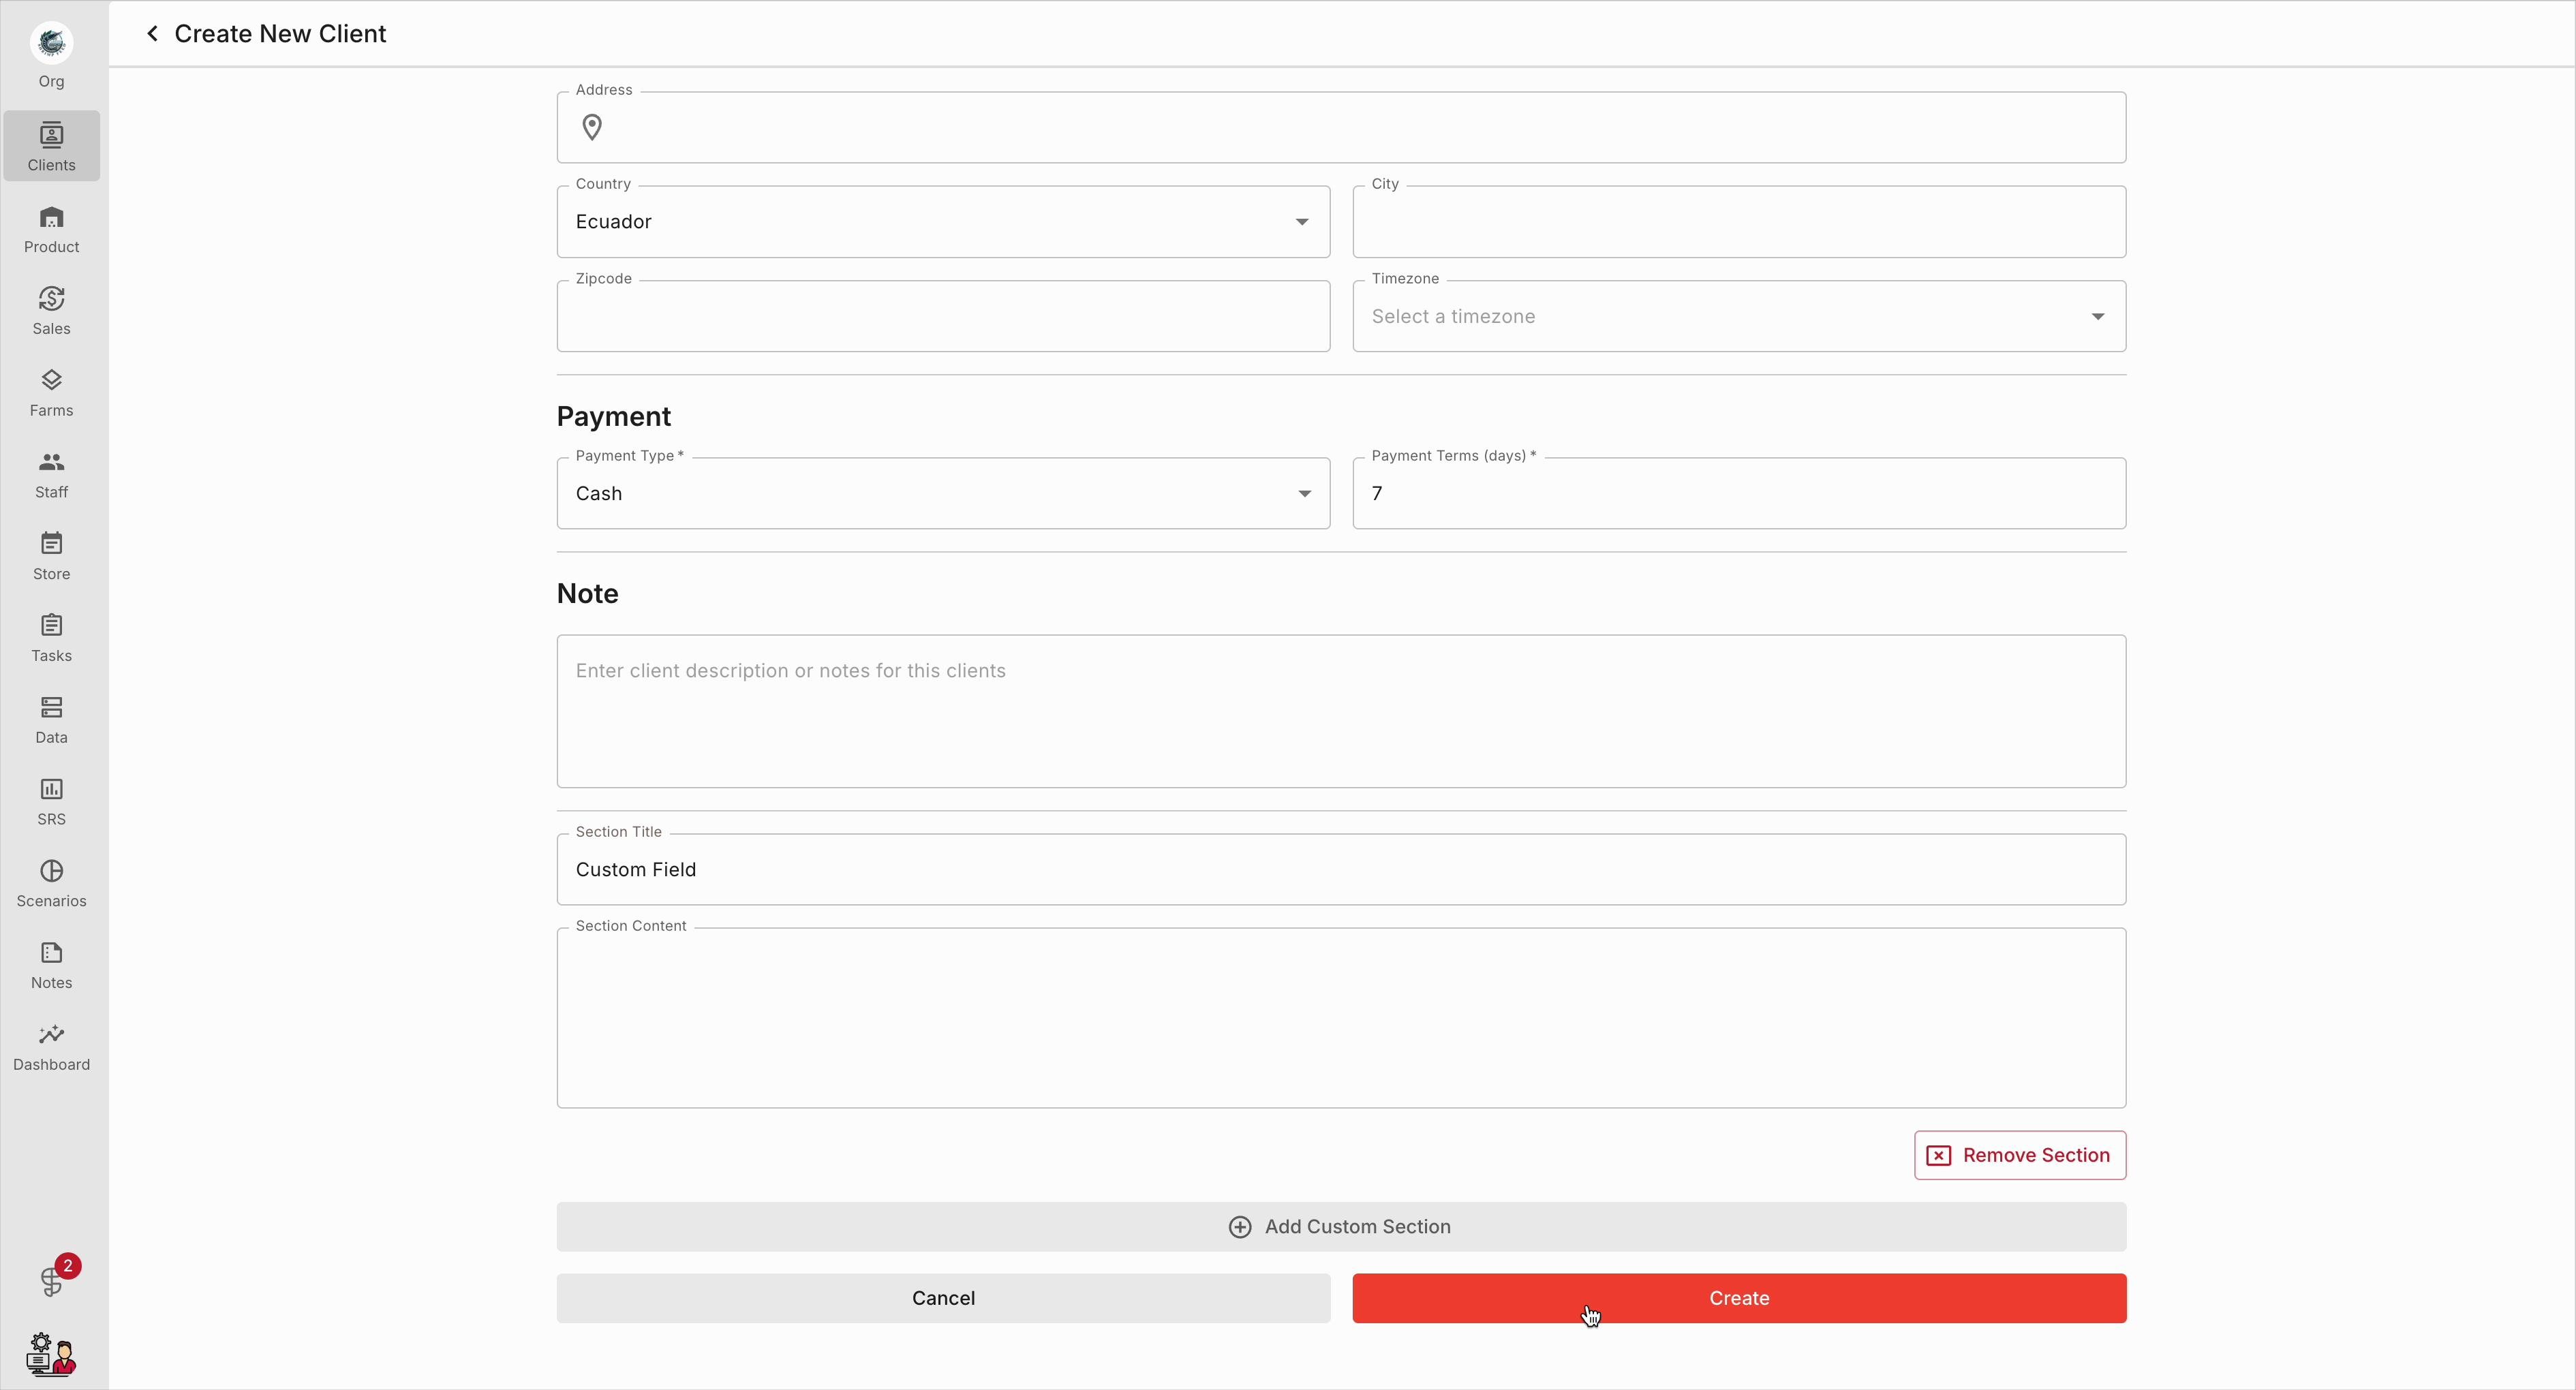
Step 8: Click Create to save the new client profile.
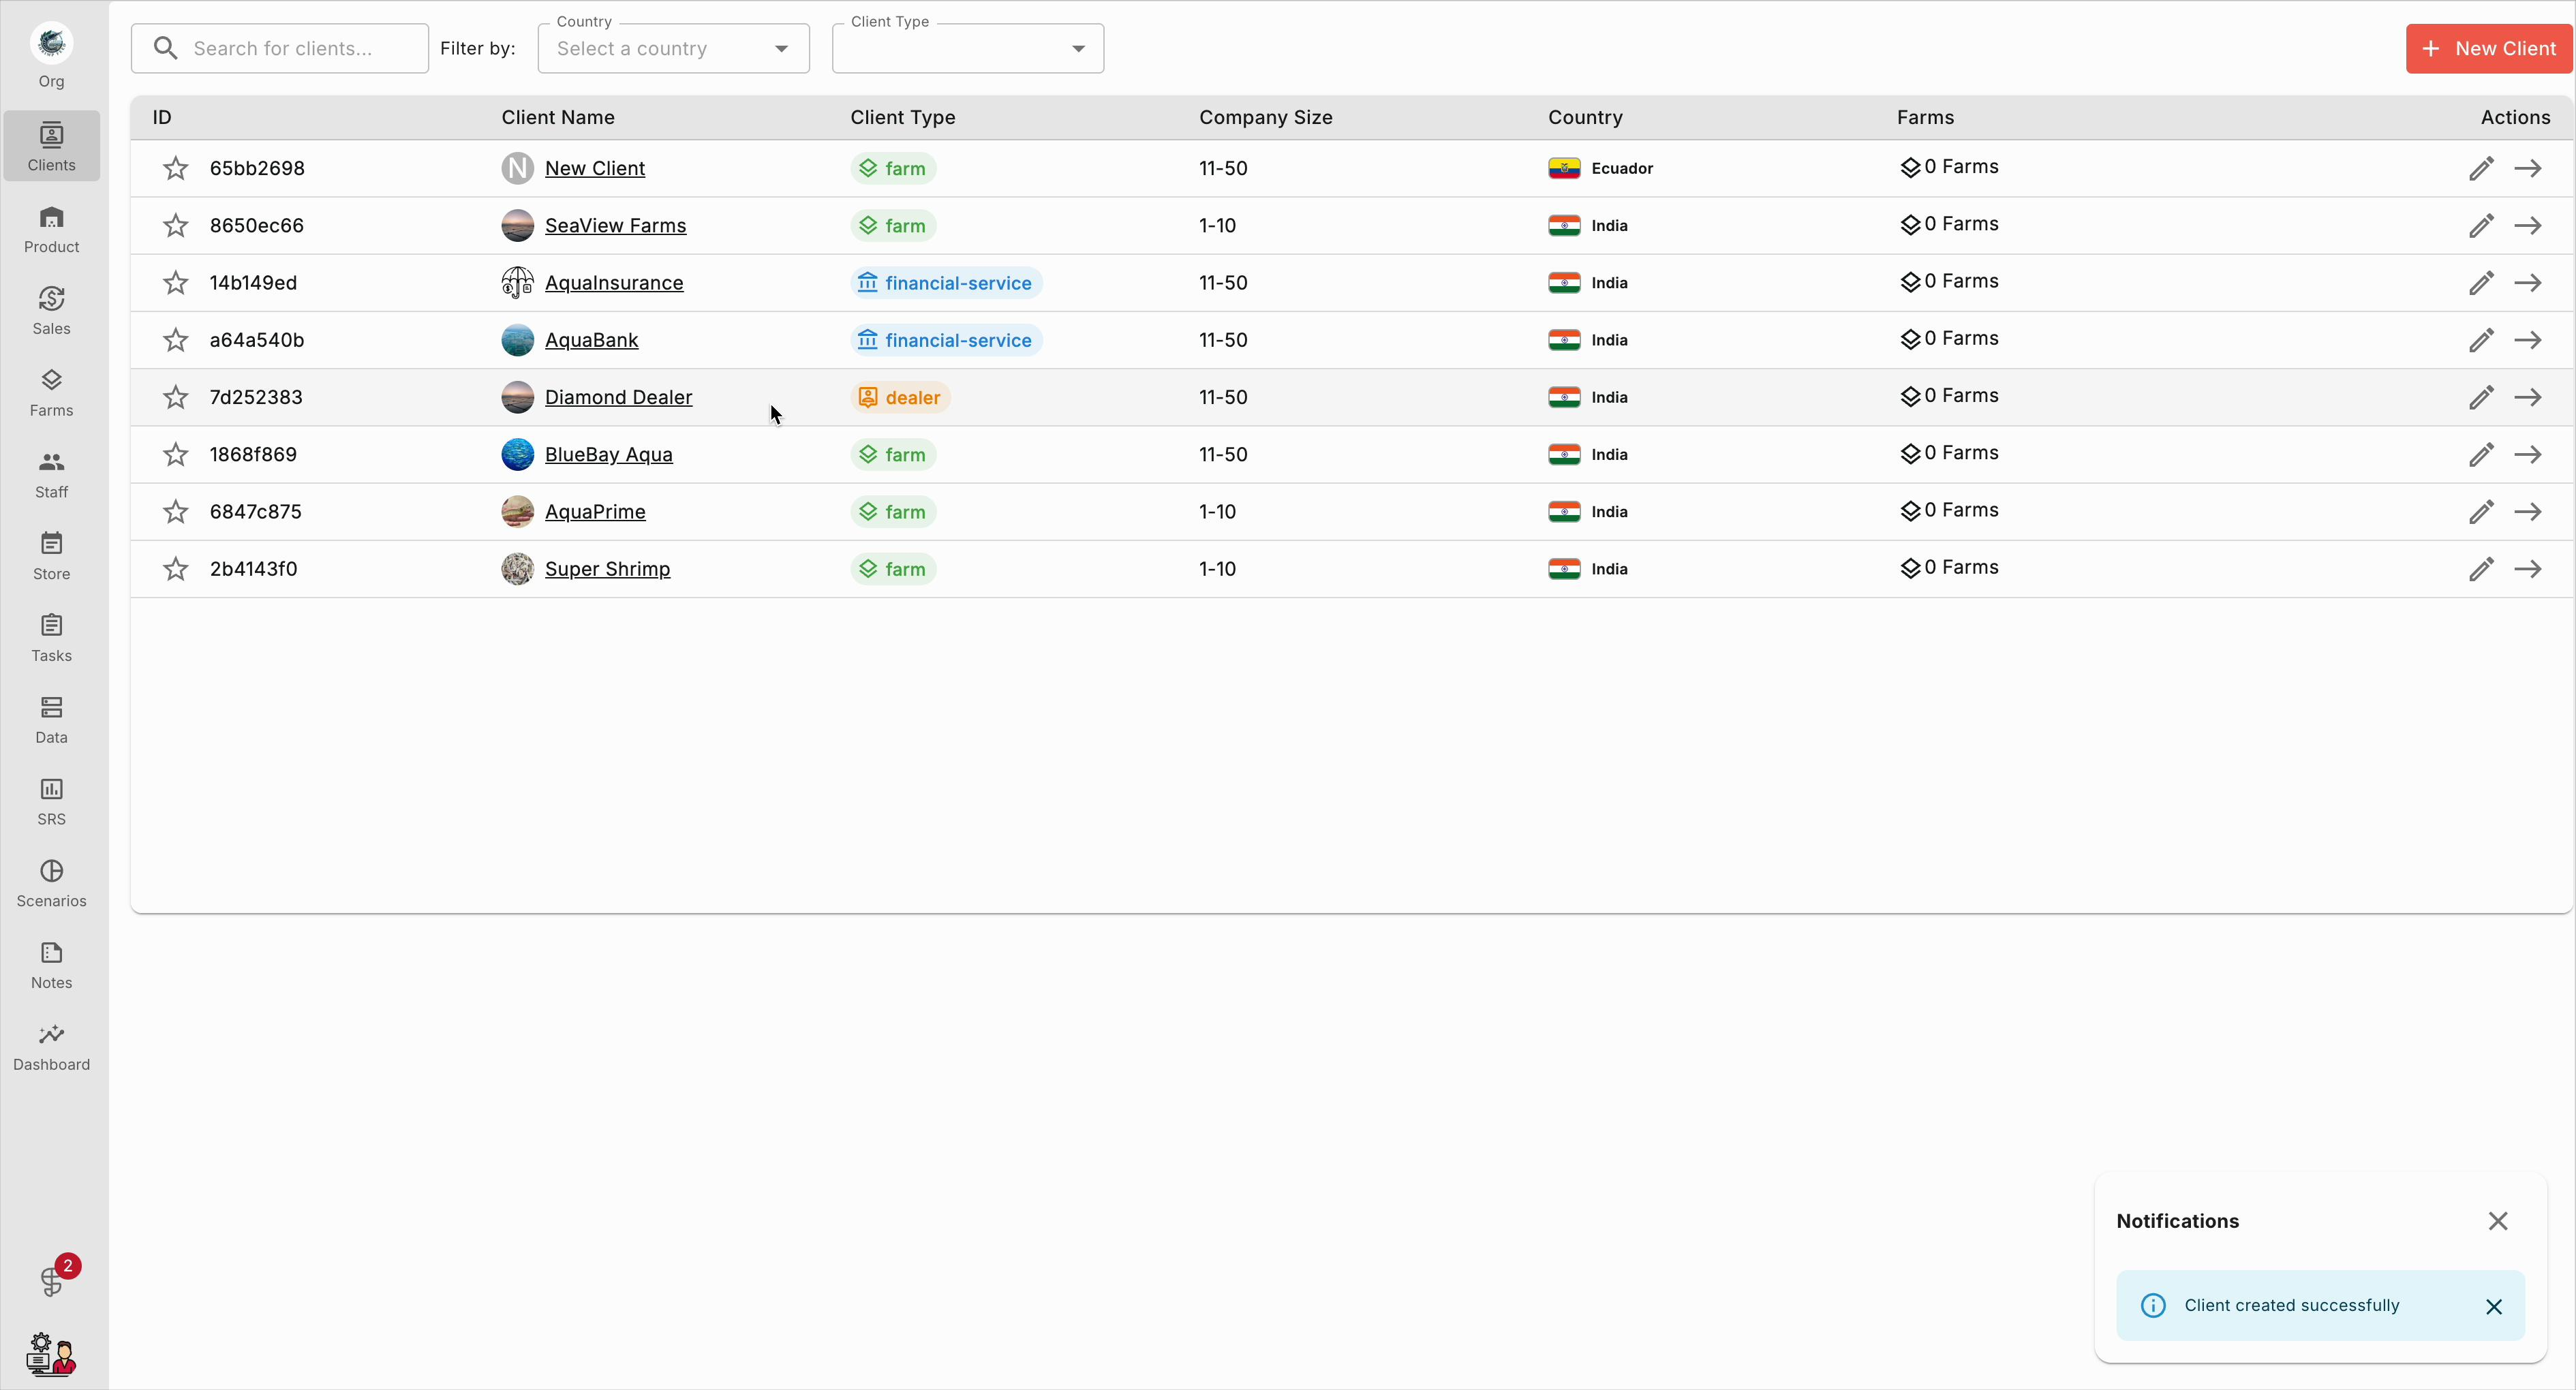
Step 9: Back in the client list, confirm that the new client appears.
Well-managed client profiles help keep your business organized and your communication seamless. Regularly update and review these profiles to maintain high-quality client information.